
Putting it all Together
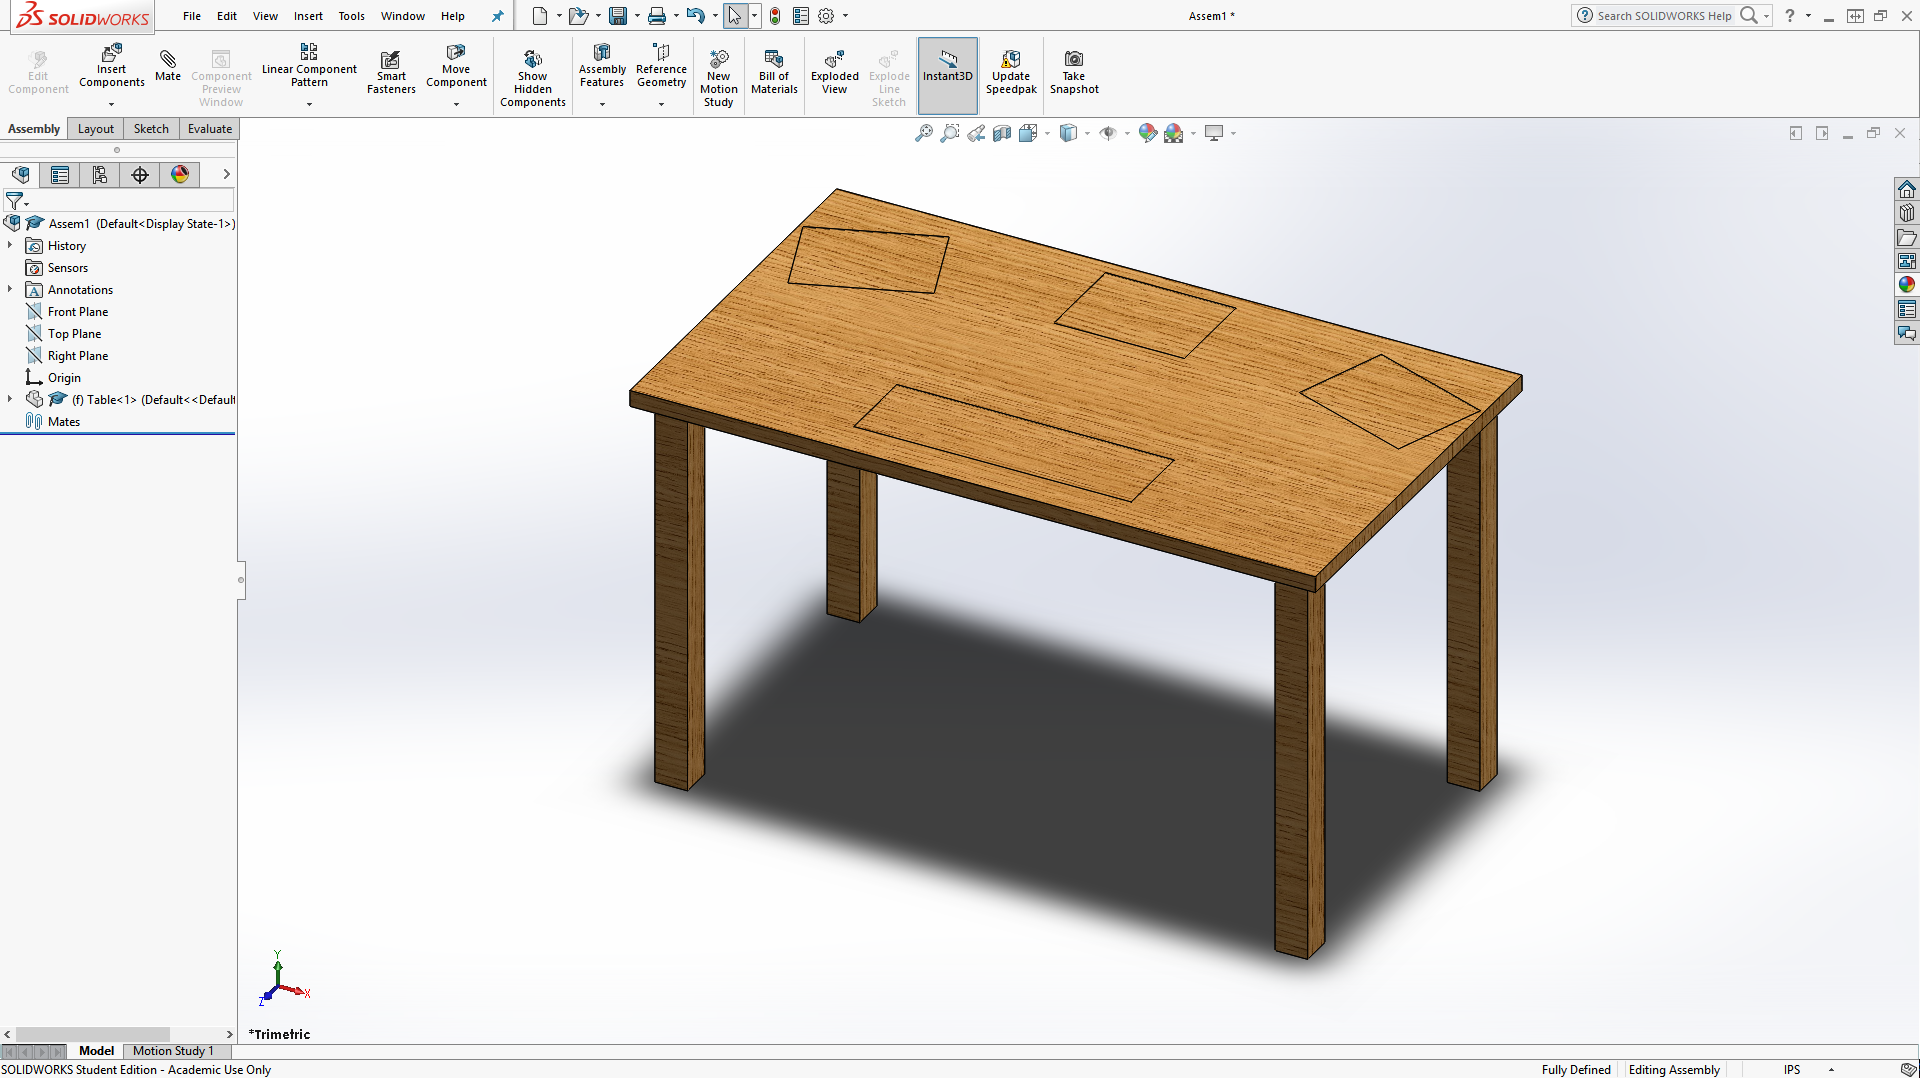
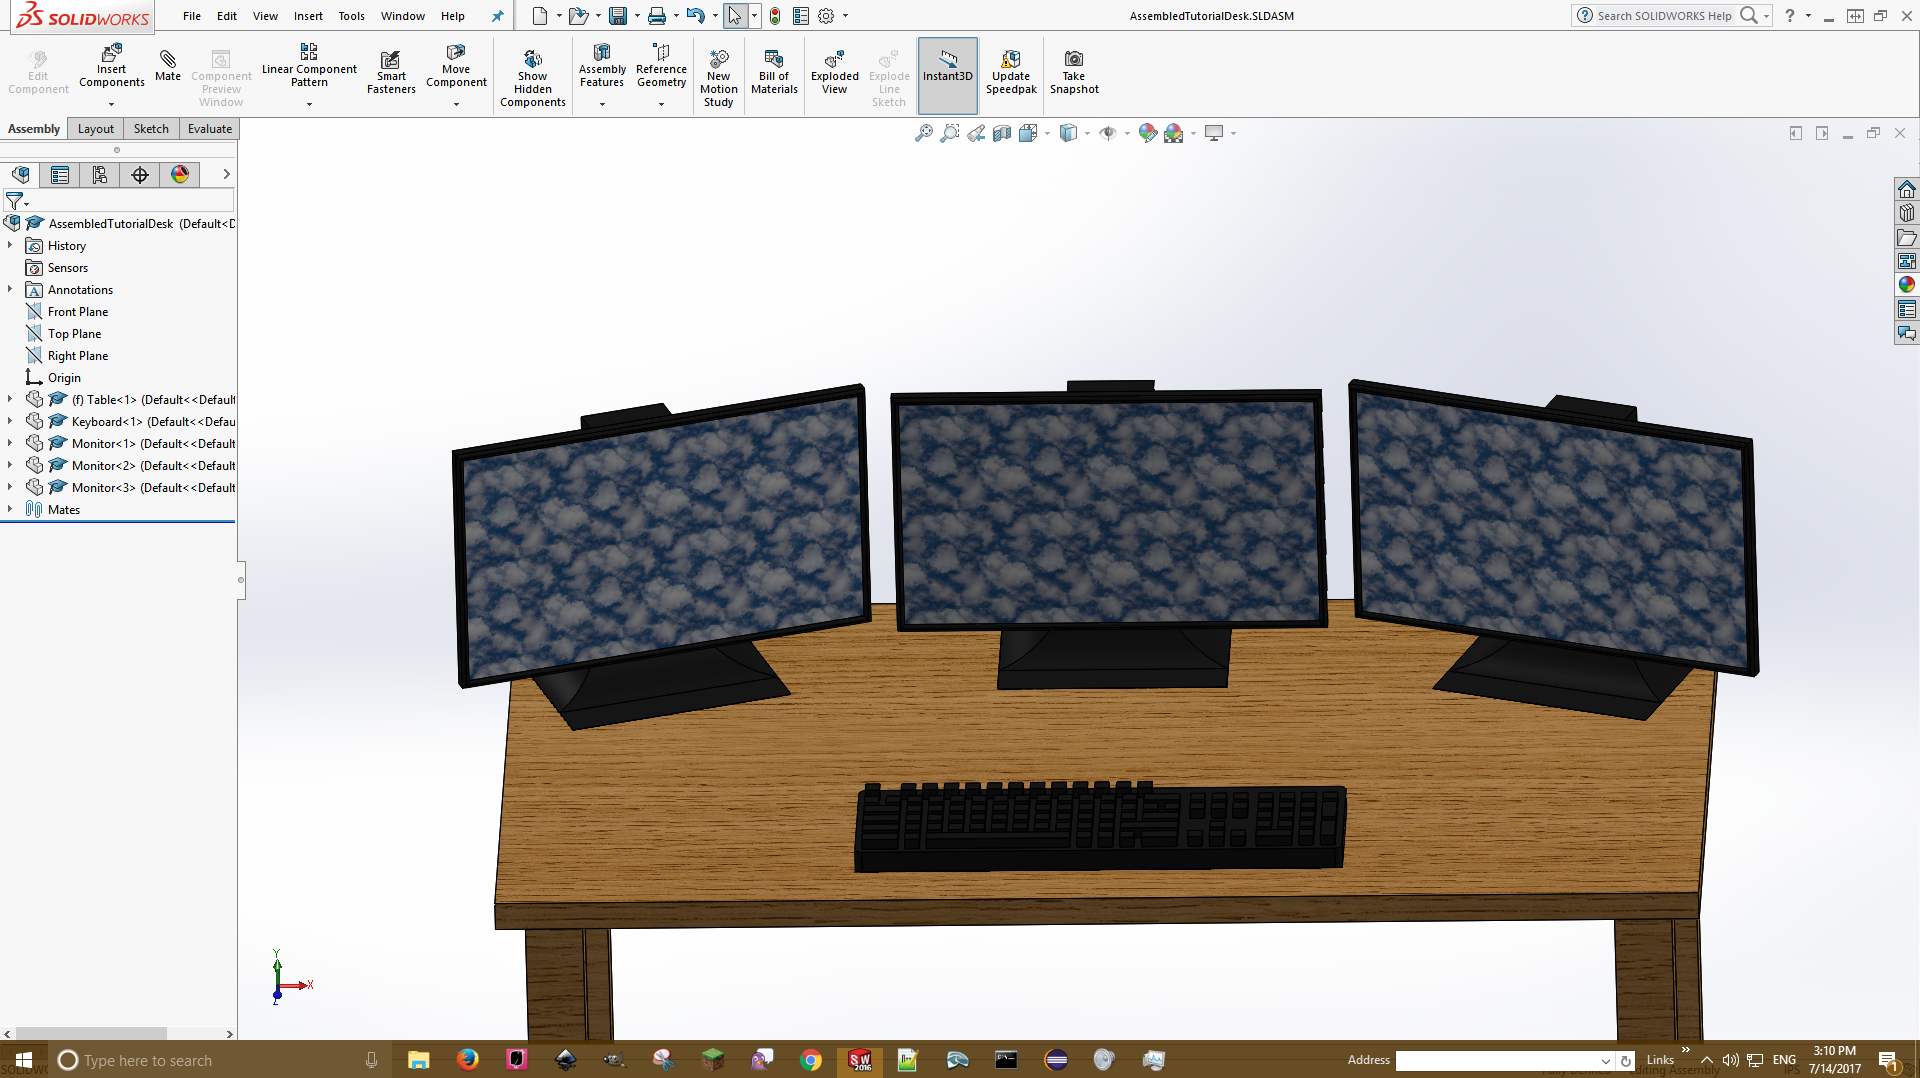
Finally, you have all the pieces! Go to make a new part, but after clicking New, select the Assembly option. Under the yellow box, click browse and select the table file. Click the workspace to place it. This will allow you to build other parts onto it.
Now, select Insert Components under Assembly and use Browse to select your keyboard. Place it in the workspace as well. Once they are both in, click the Mate button. Under Mate Selections, select the bottom side face of the keyboard and the small corresponding face on the table. To select it, you will need to zoom in a lot with the scroll wheel. Once both are selected, make sure the keyboard is facing the right direction, then hit the green check. If the keyboard is backwards, press the unselected box under "Mate Alignment."
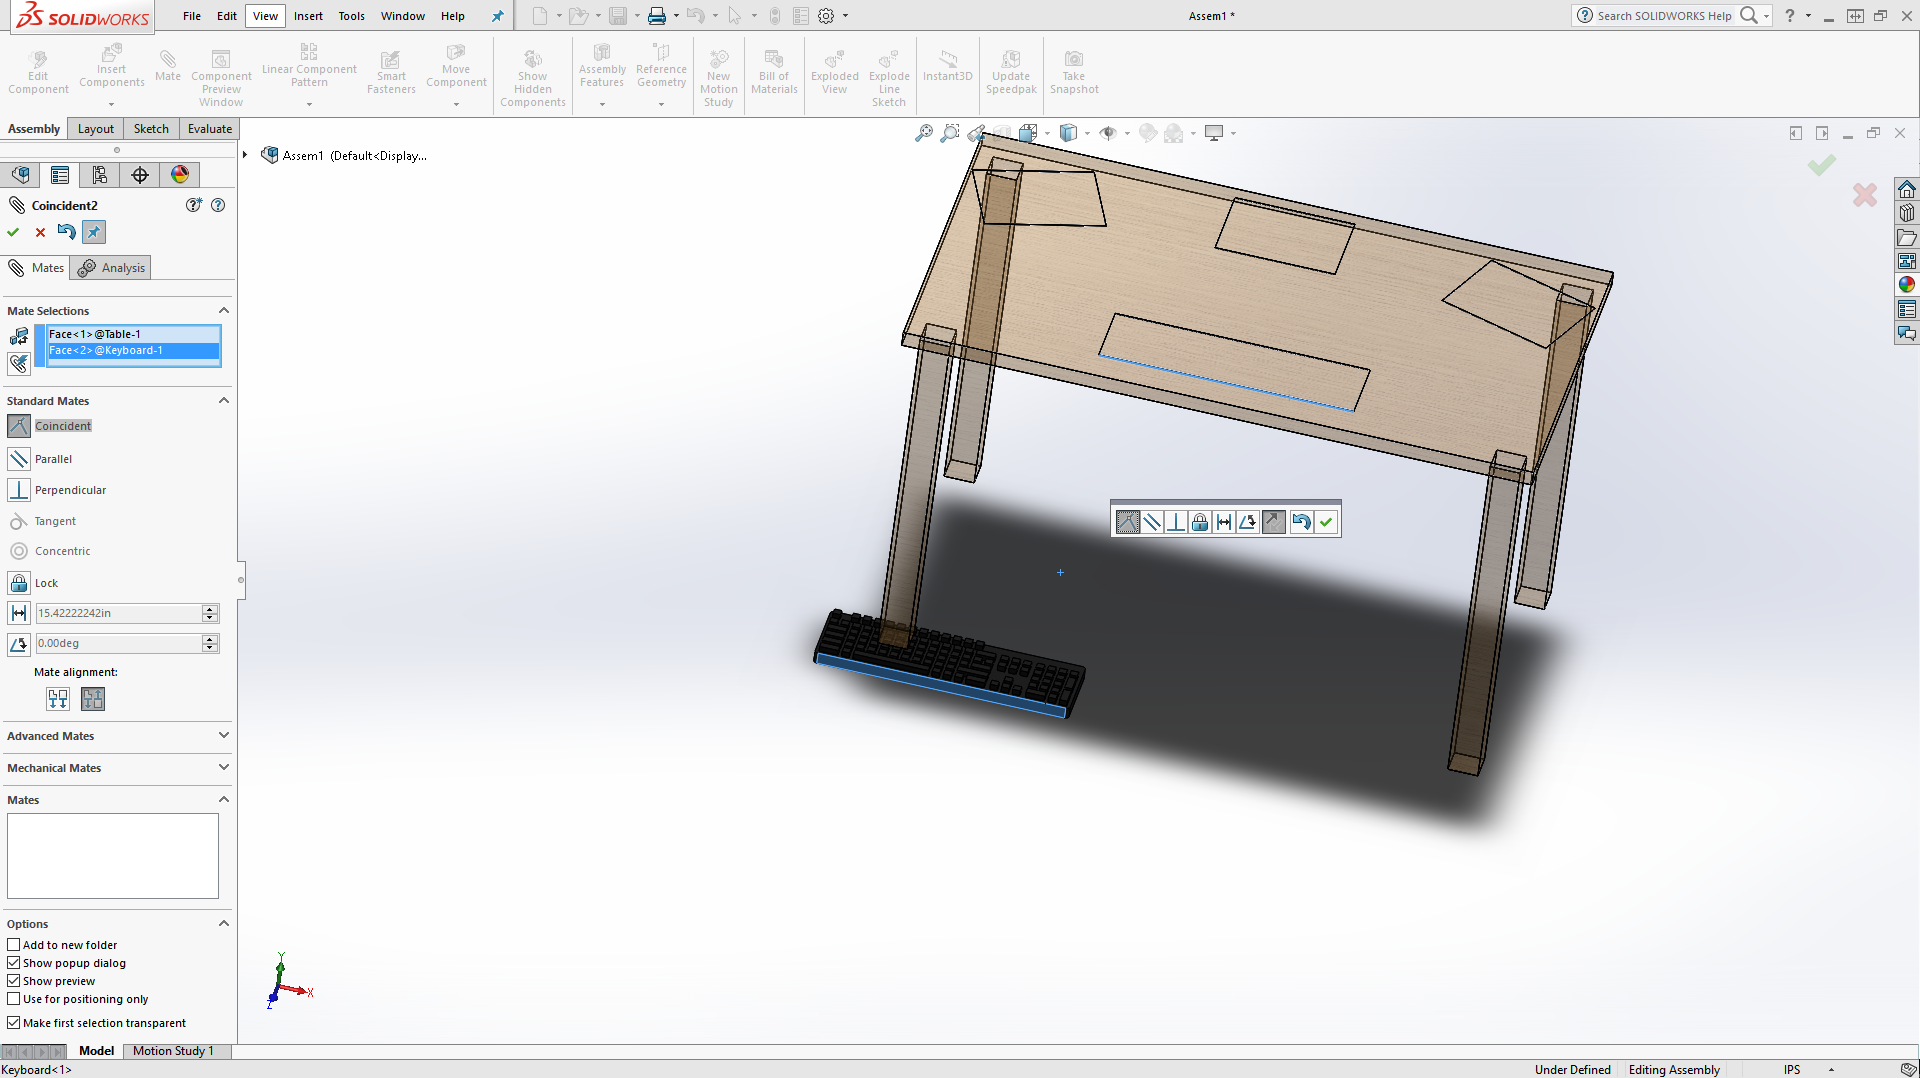
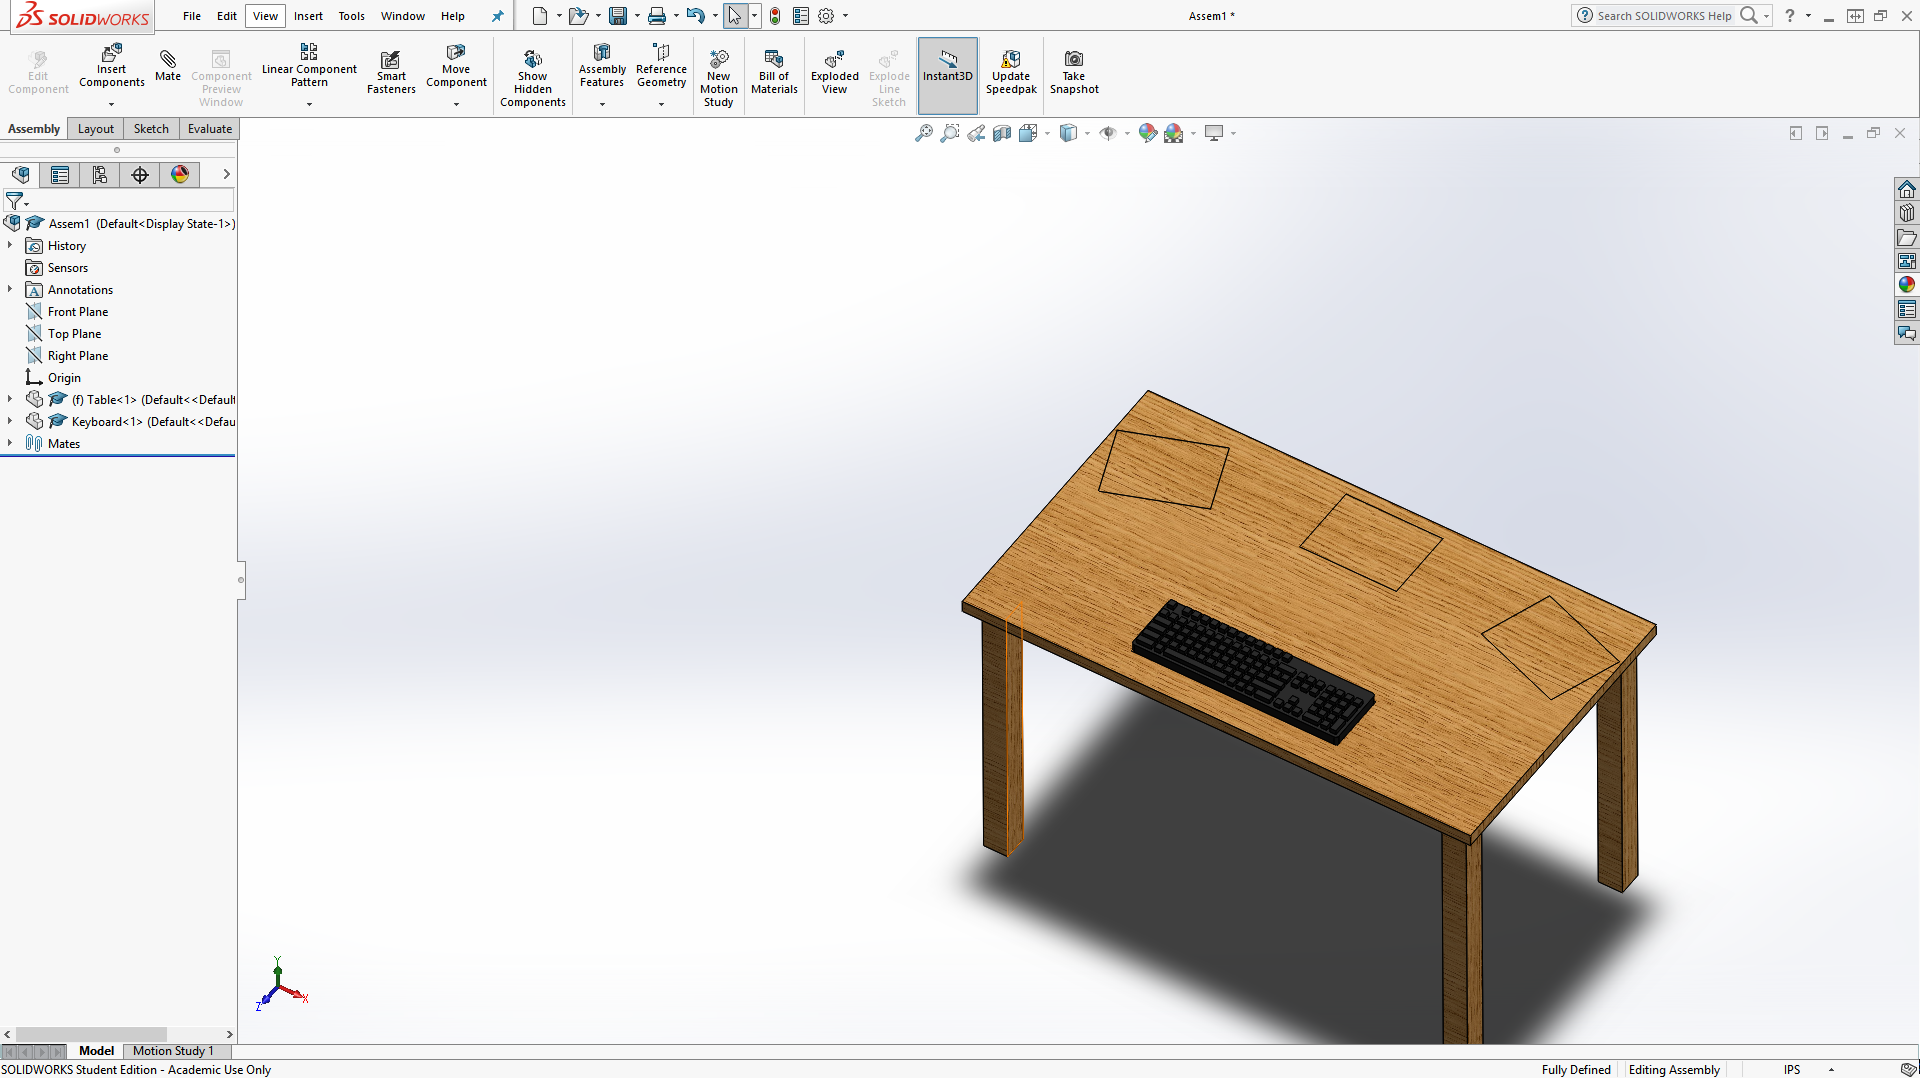
Do the same for one of the perpendicular sides and the base. The keyboard should now be on the table in its slot.
Do likewise for the monitors. It should automatically line them up properly, but if they're 180 degrees off, toggle the Mate Selection button.
Looking good! However, most computer setups also include a mouse. If you want, you can try making one on your own using what you've learned in here, as well as the Revolved Boss/Base and Ellipses and Ovals mentioned in the second post. Here's mine for inspiration:
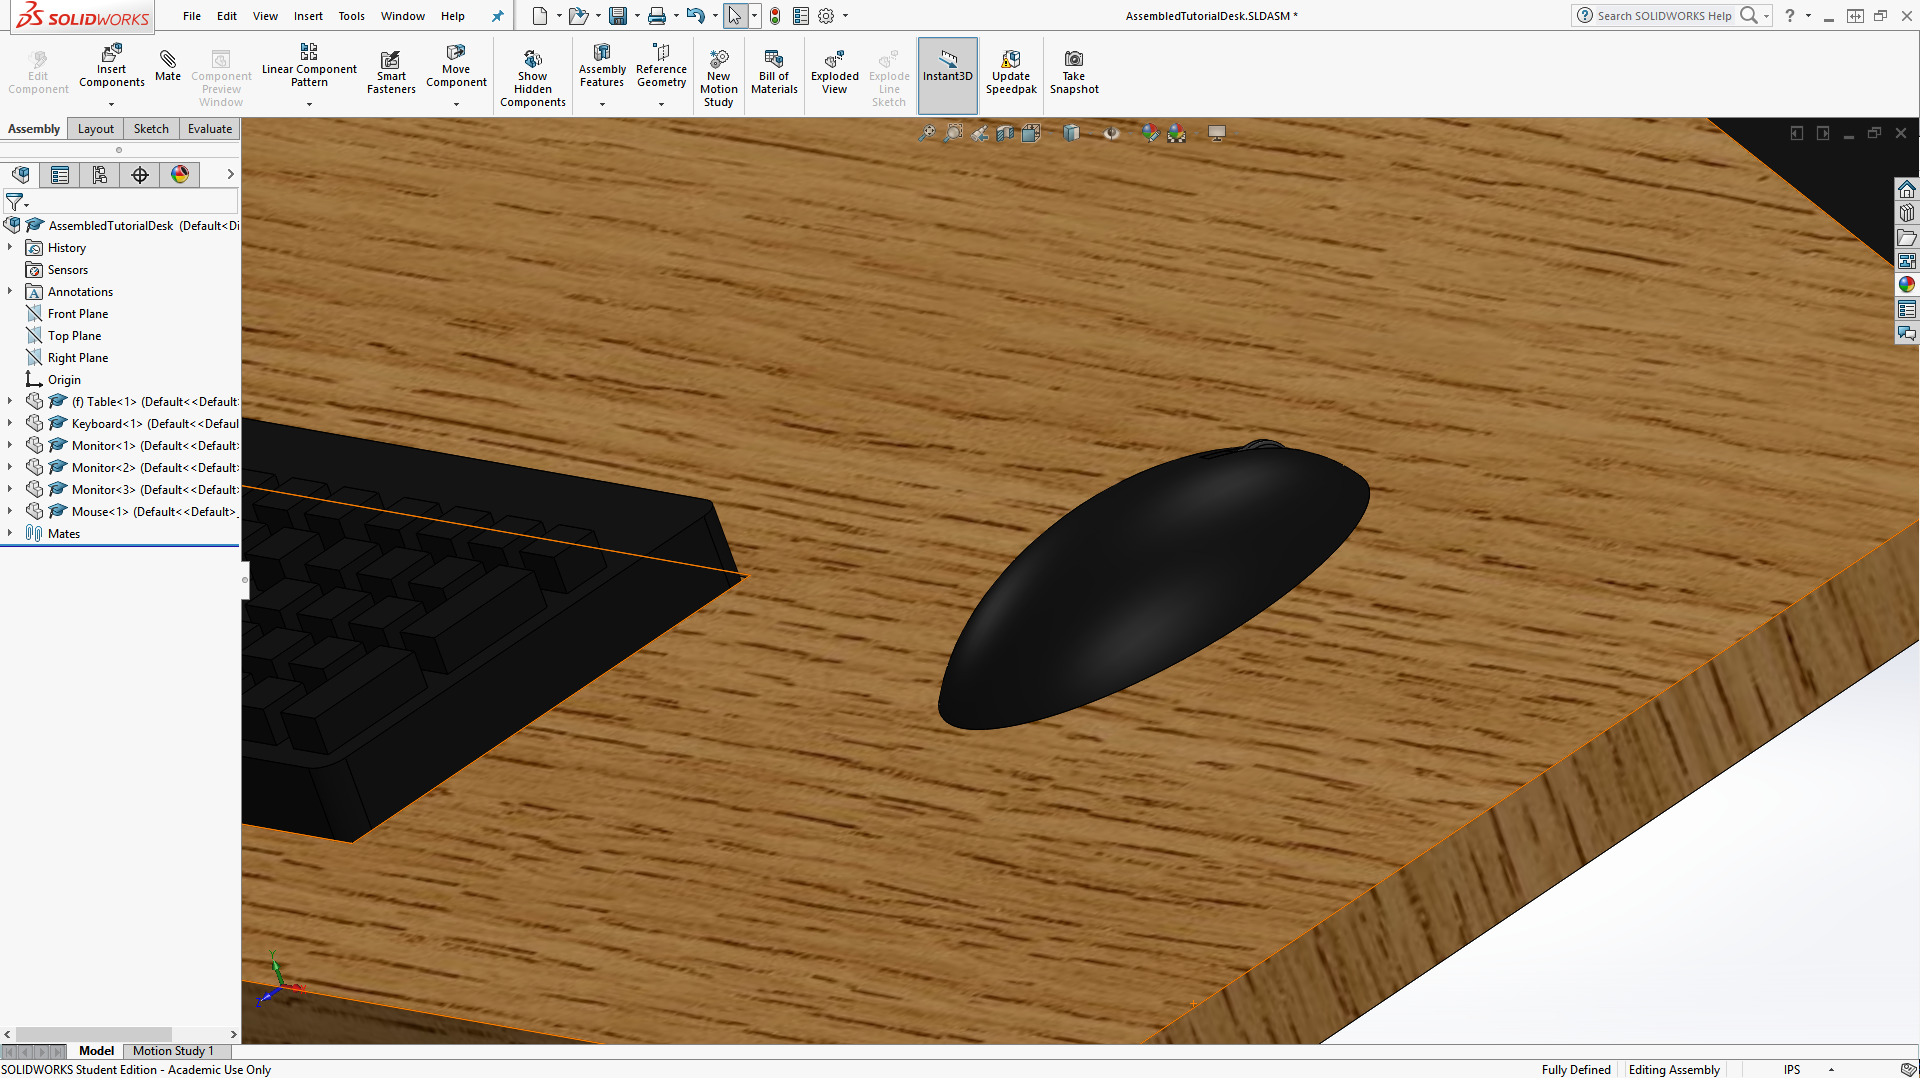
At this point, you're done! You can click the image above for my assembled file if you are missing anything or
Posted 2:22pm 7/16/17