
Solidworks: Creating your First Part
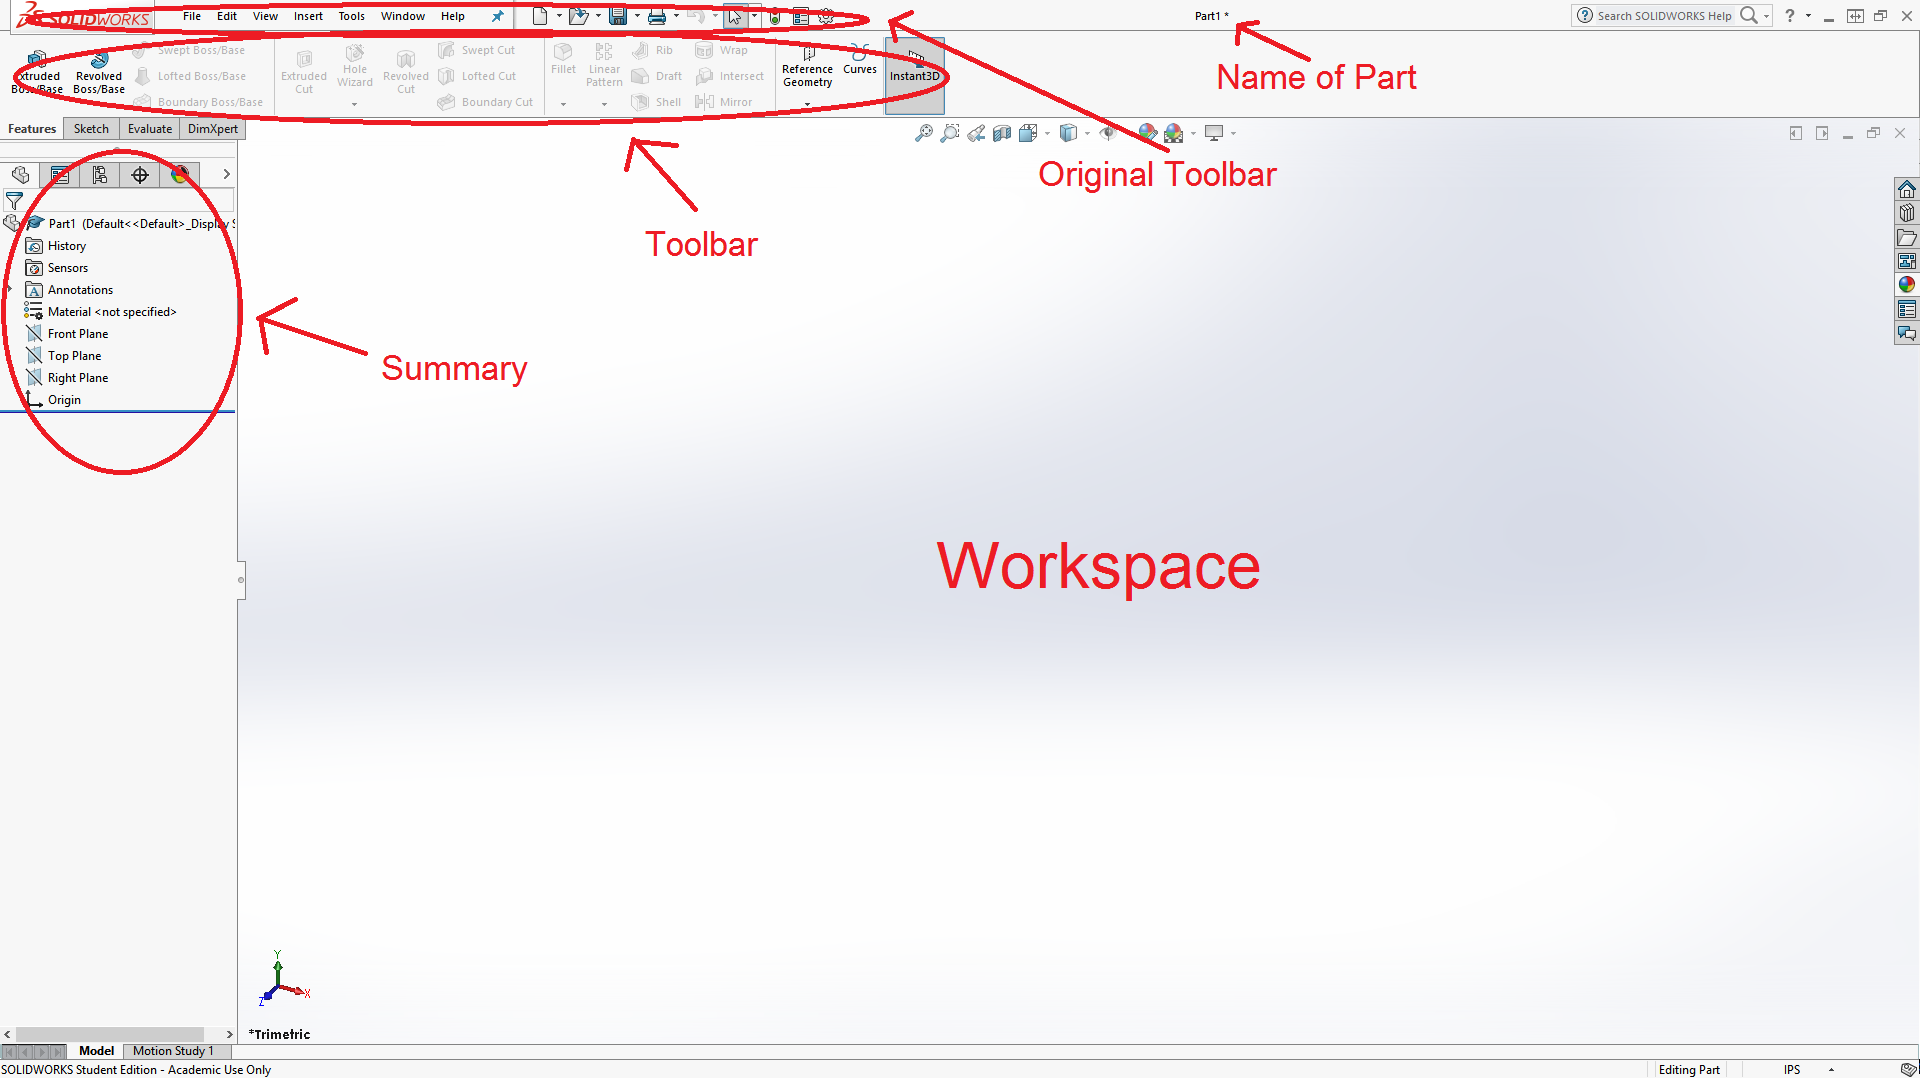
Now that you're in a part file, we need to create something. What you see is your toolbar at the top, a summary of your part on the right, and your original menu at the very top. There are also a few other things that aren't as important. Primarily, we'll be using the toolbar.
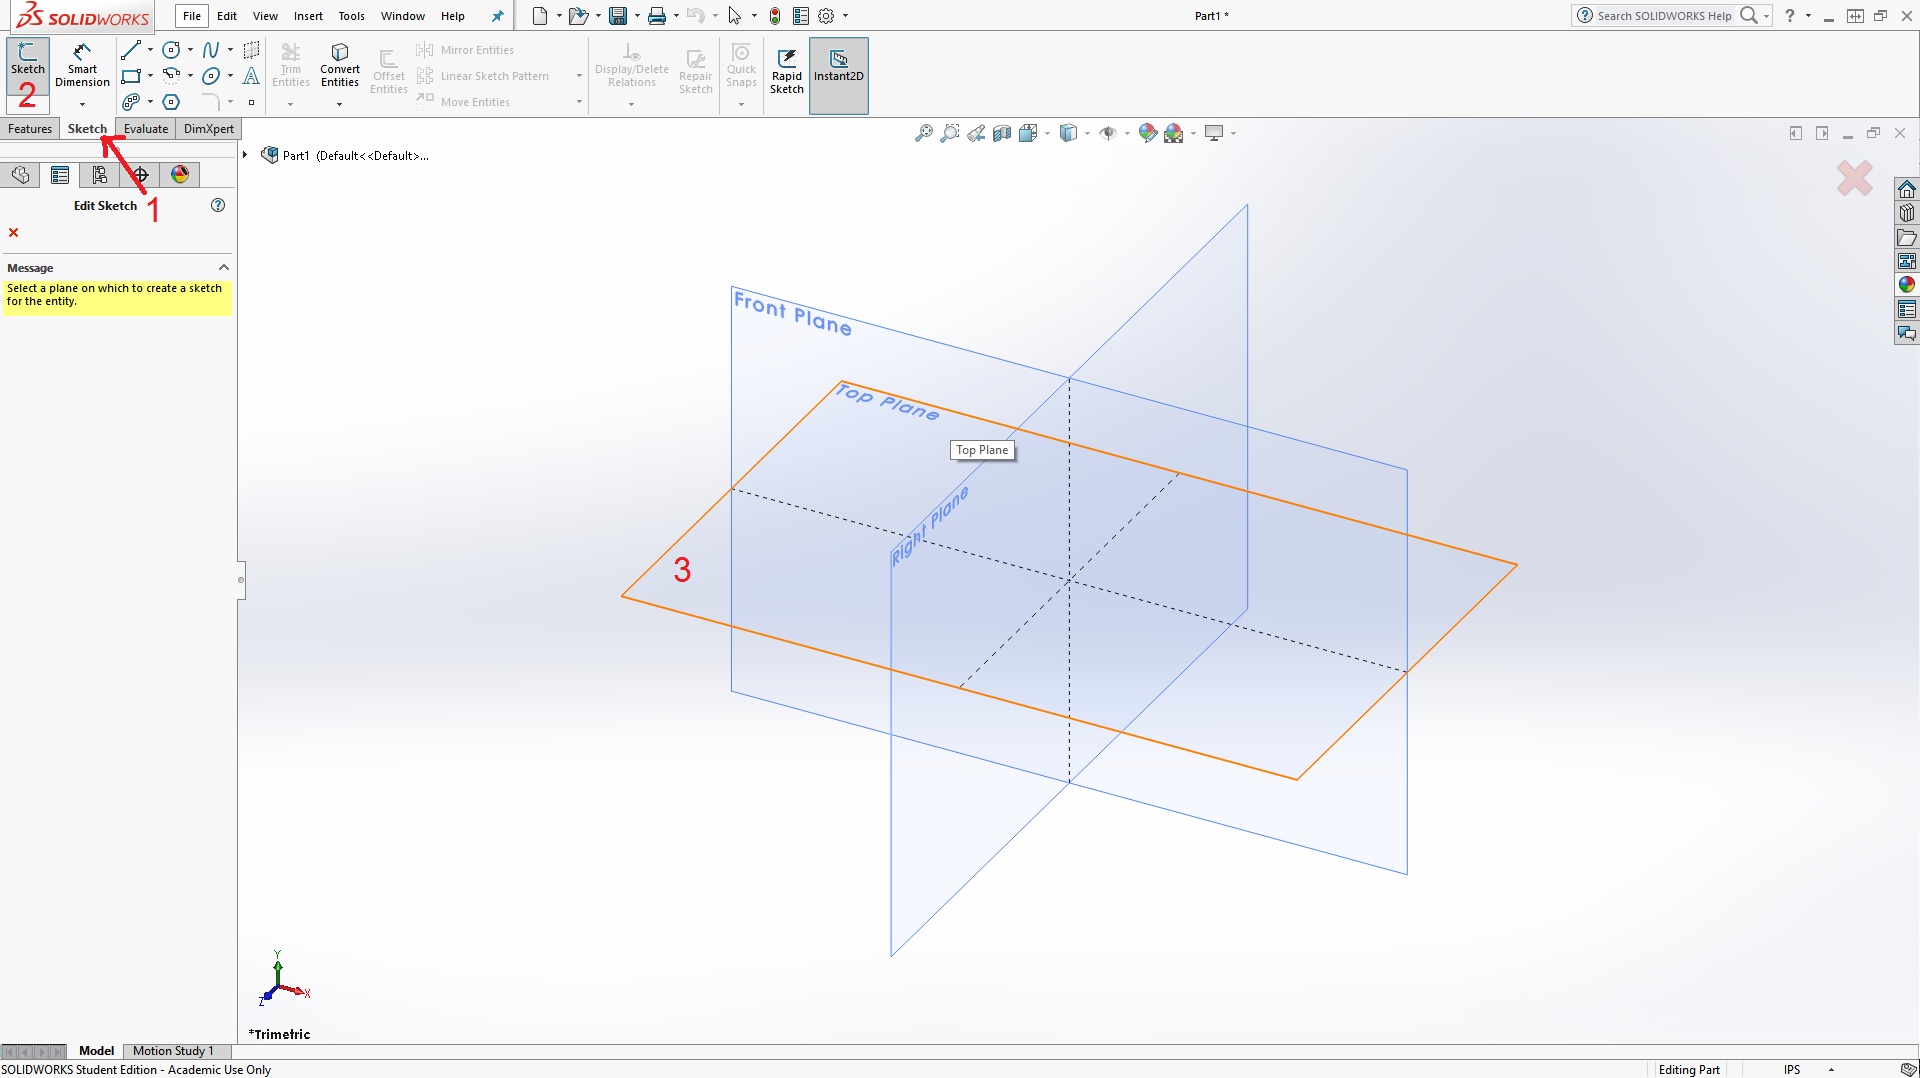
To make a simple cube, click the "Sketch" tab, then the "Sketch" button, and then the top plane. This will let you start drawing 2D shapes, which can then be turned into 3D objects.
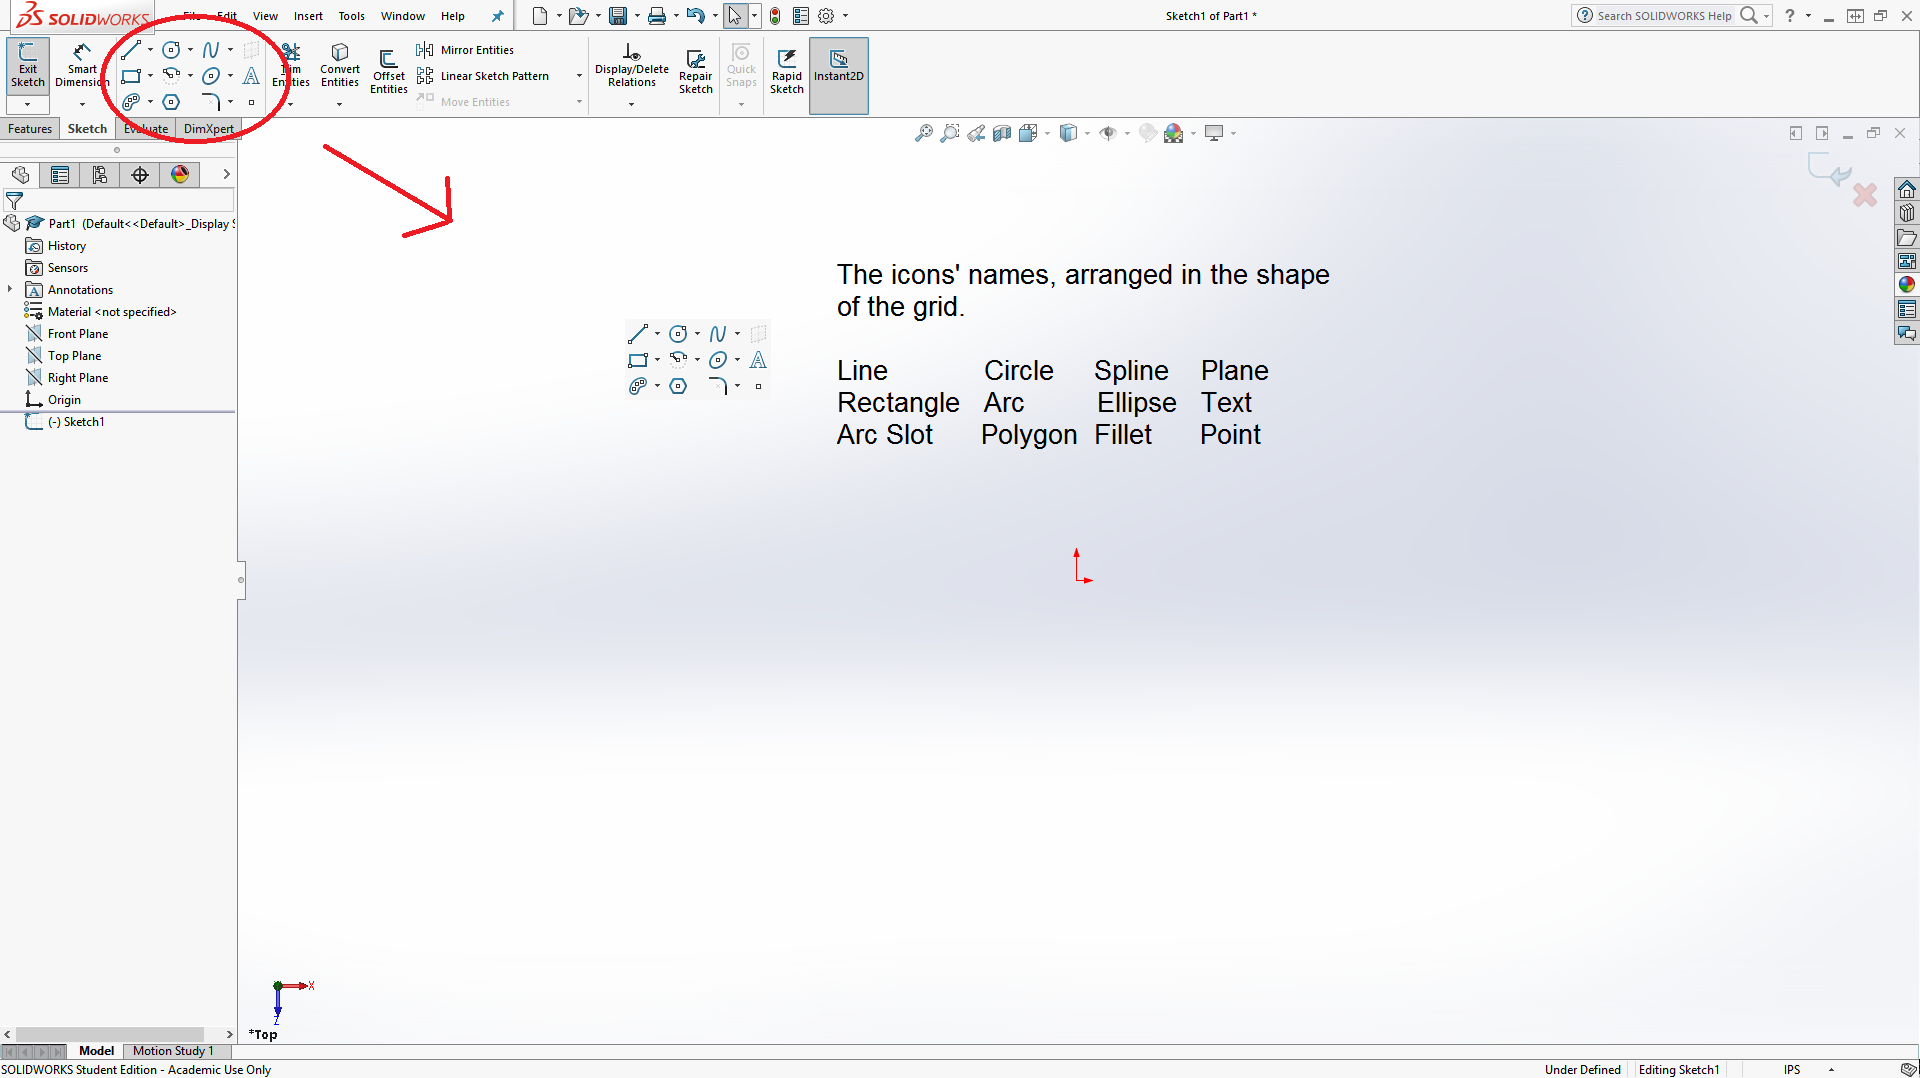
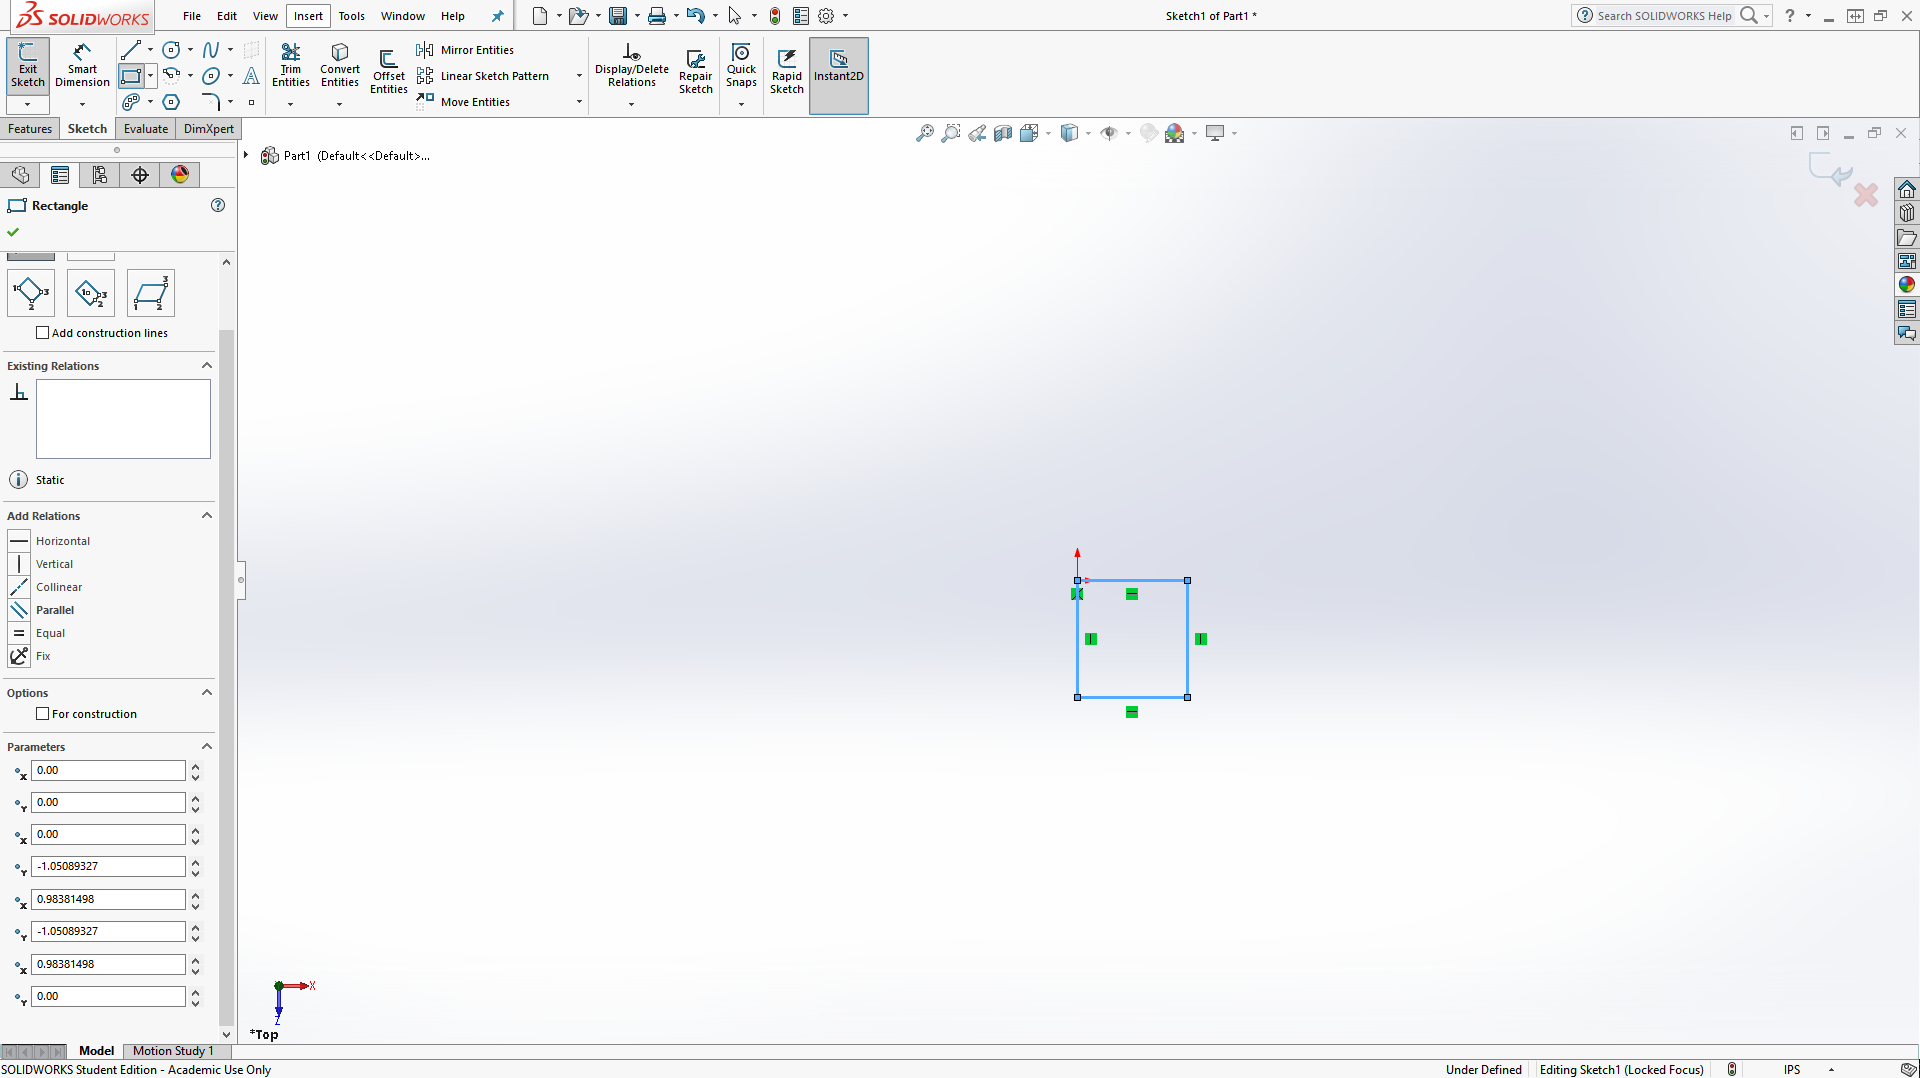
Up on your toolbar, you'll see a grid of 12 symbols, each of which creates a 2D shape, which can be combined and edited to make virtually any desired 2D shape. Note the two arrows in the center, which mark the origin, just as in graphing.
To start, click the "Rectangle" tool and then click on the origin to create the first point. Click anywhere else to place the diagonally opposite point, completing the rectangle. Your screen should look something like the following, but the rectangle can extend to any quadrant of the screen.
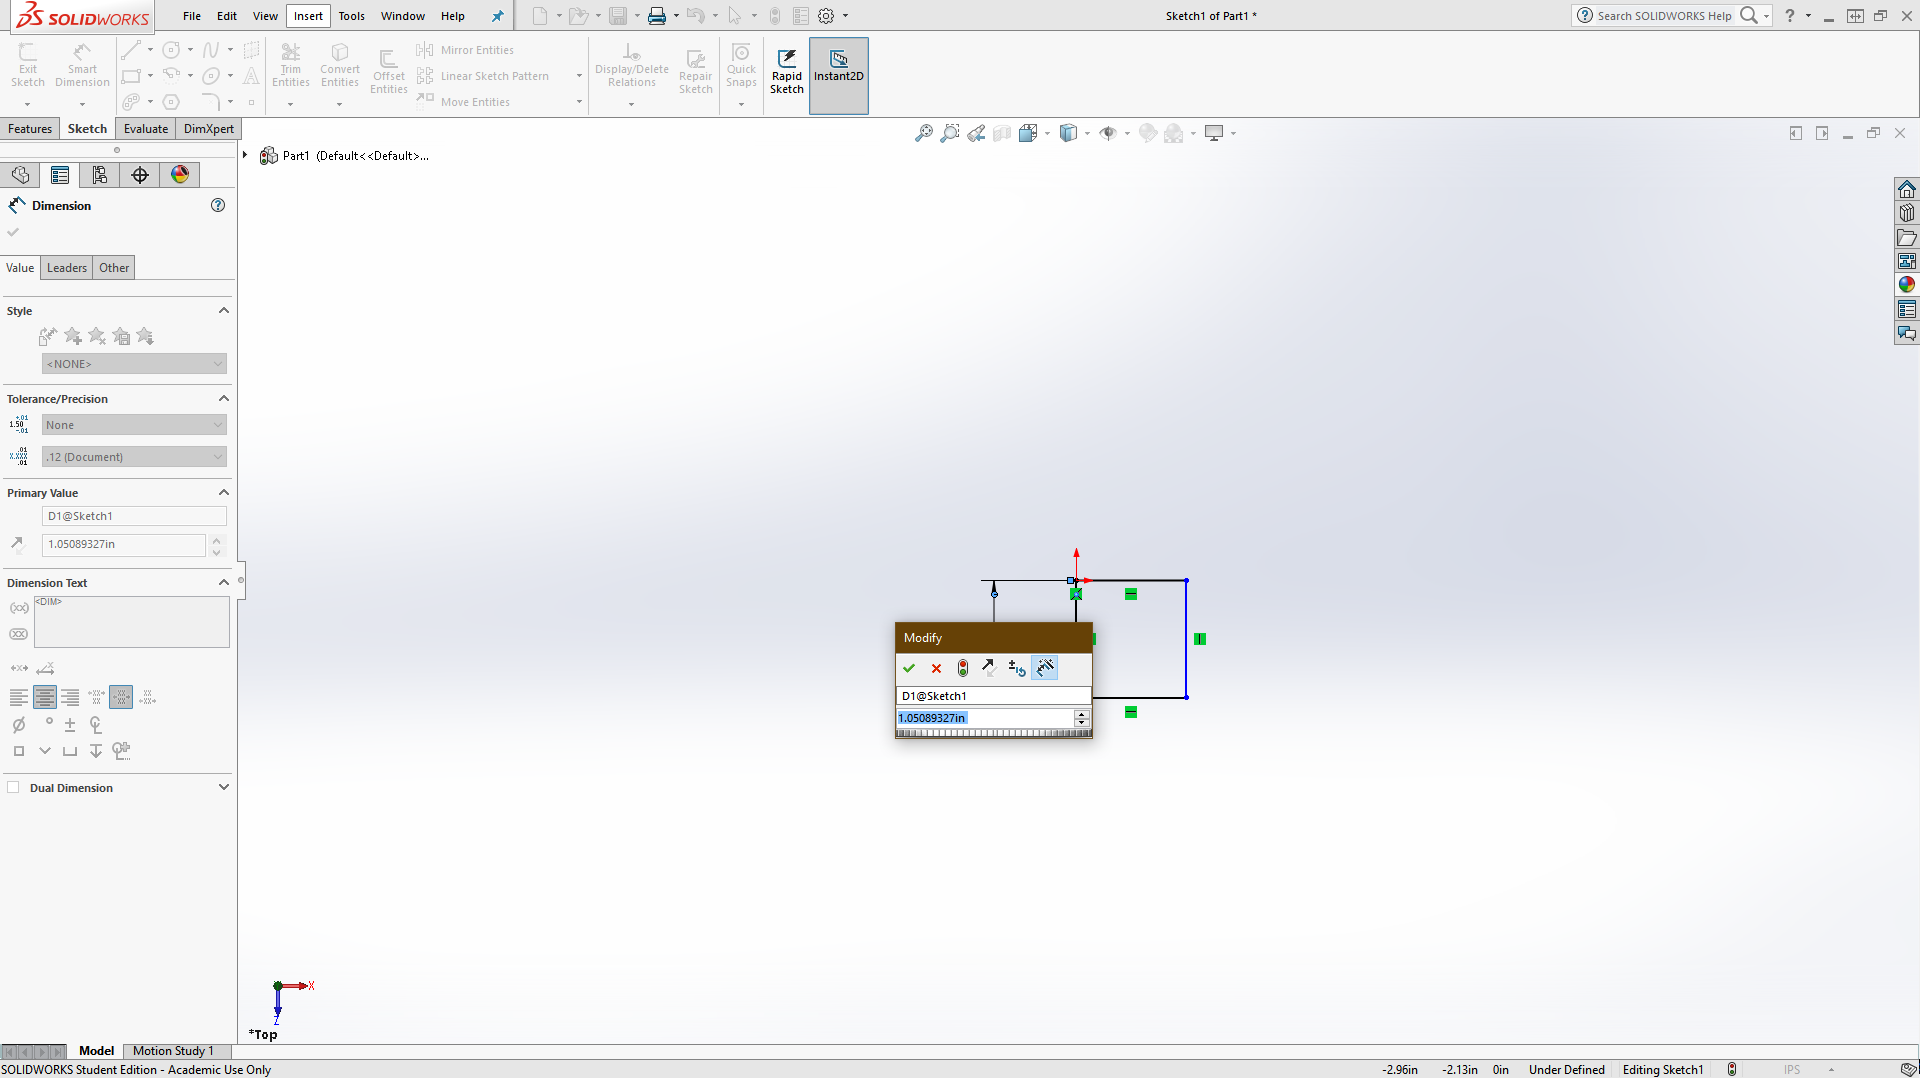
Next, you want to make certain that the shape you've drawn is a square. We'll set our rectangle to a 1 inch by 1 inch square by using the "Smart Dimension" tool, found on the toolbar. Click it to turn your cursor into the Smart Dimension tool, which is a cursor with an arrow between two lines on the side.
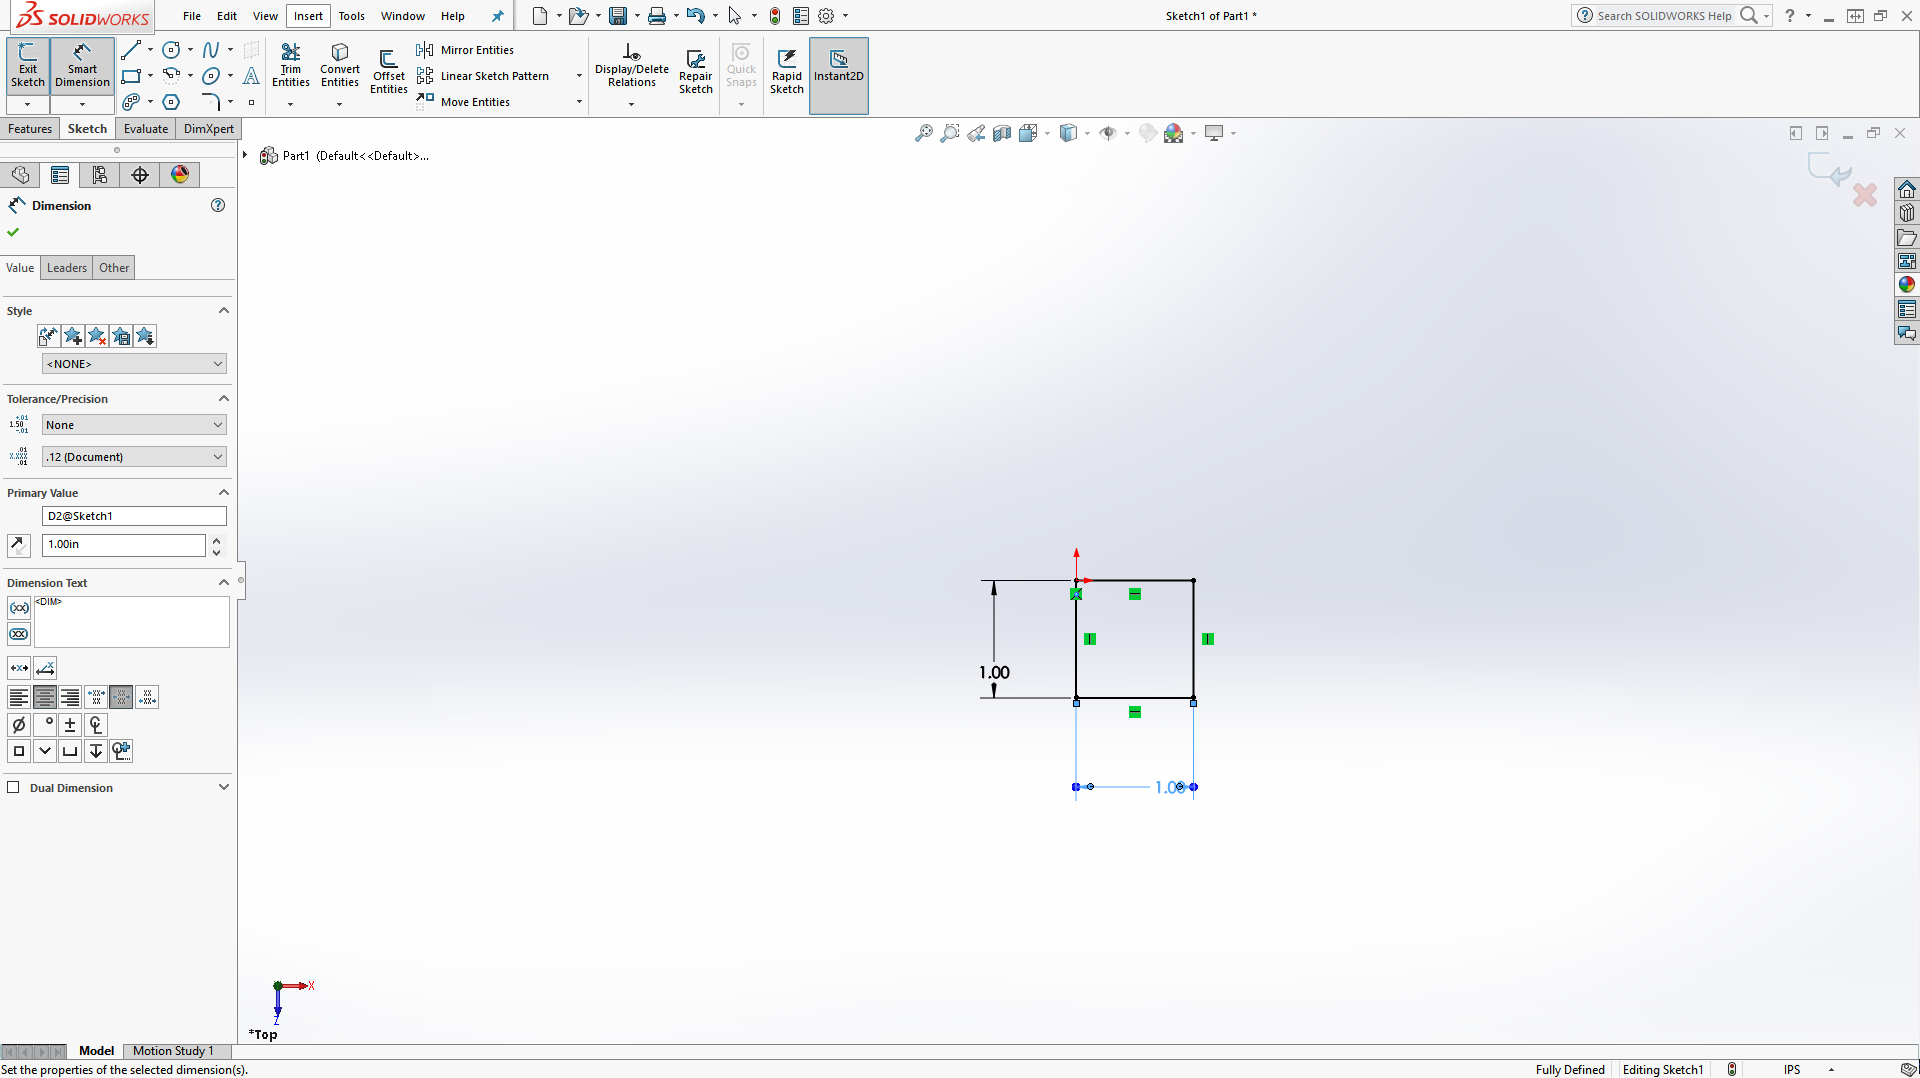
To set the height of the rectangle, type "1 in" in the box and hit "Enter". The numbers I'll be using from here on out will be inches to simplify things. You'll also want to set the bottom line to 1 inch to make a square.
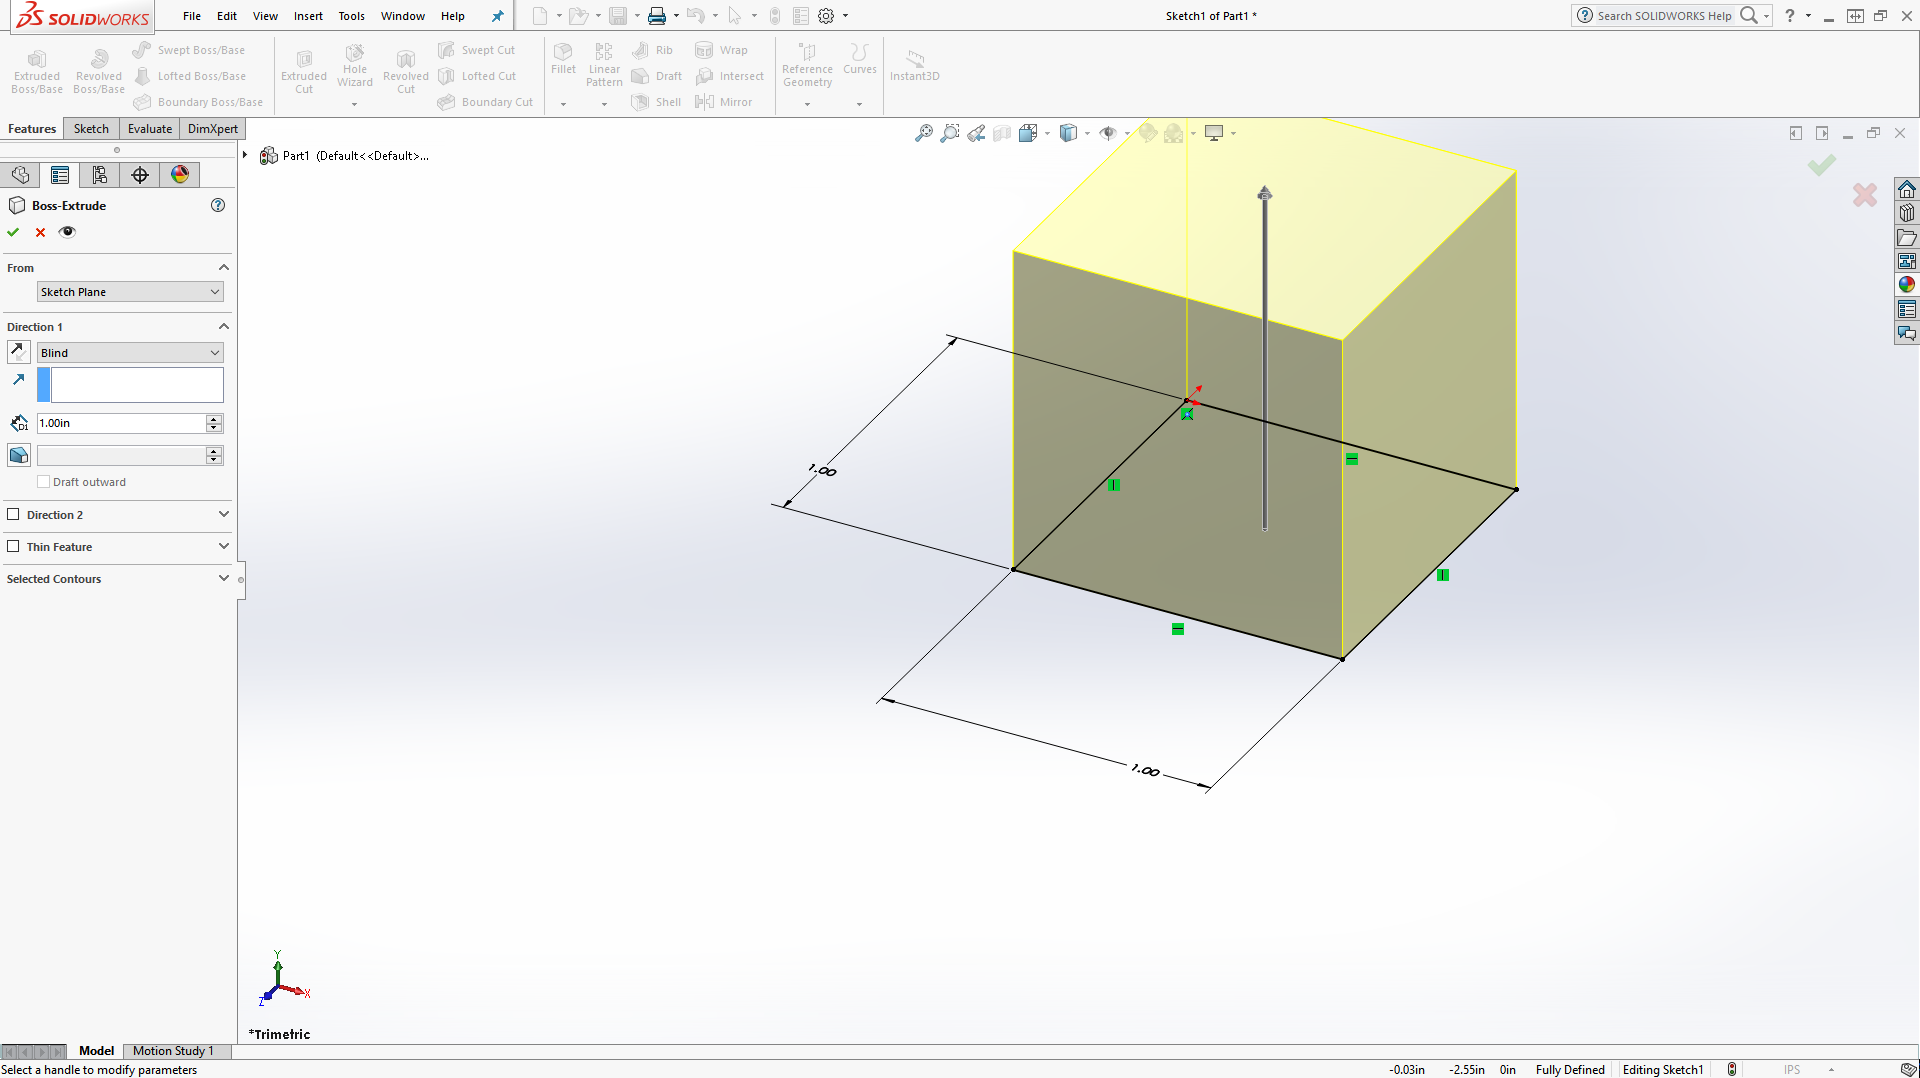
From here, you should "Extrude" the square up an inch into a cube. To do that, click the "Features" tab and then the "Extrude Boss/Base" button.
The view will have moved to a 3D view with yellow marking the box which will be created upon the extrusion. You should already be selecting a text box on the left under "Direction 1," labeled "D1". If not, select it now. Once it is selected, type "1 in" in the text box to set the depth of the object to 1 inch and then click the small green check mark on the top of the left box.
Now we should save this part. To save it, just click the "Save" button at the upper-most toolbar and save it just like any other file.

This is your chance to experiment! From here on out, I'll assume that you're familiar with the following tools:
- Sketch (Note that this can be used on any flat surface of your object)
- Smart Dimension
- Extruded Boss/Base
- Rectangle
- Circle (New)
- Line (New)
- Ellipse (New)
- Centerpoint Arc (New)
- Trim Entities (New)
You'll need to experiment with the items labeled "New" before continuing if you want to fully understand what I'm doing. As you use them, these tools will become easier and easier, so feel free to play with them as much as you like now.
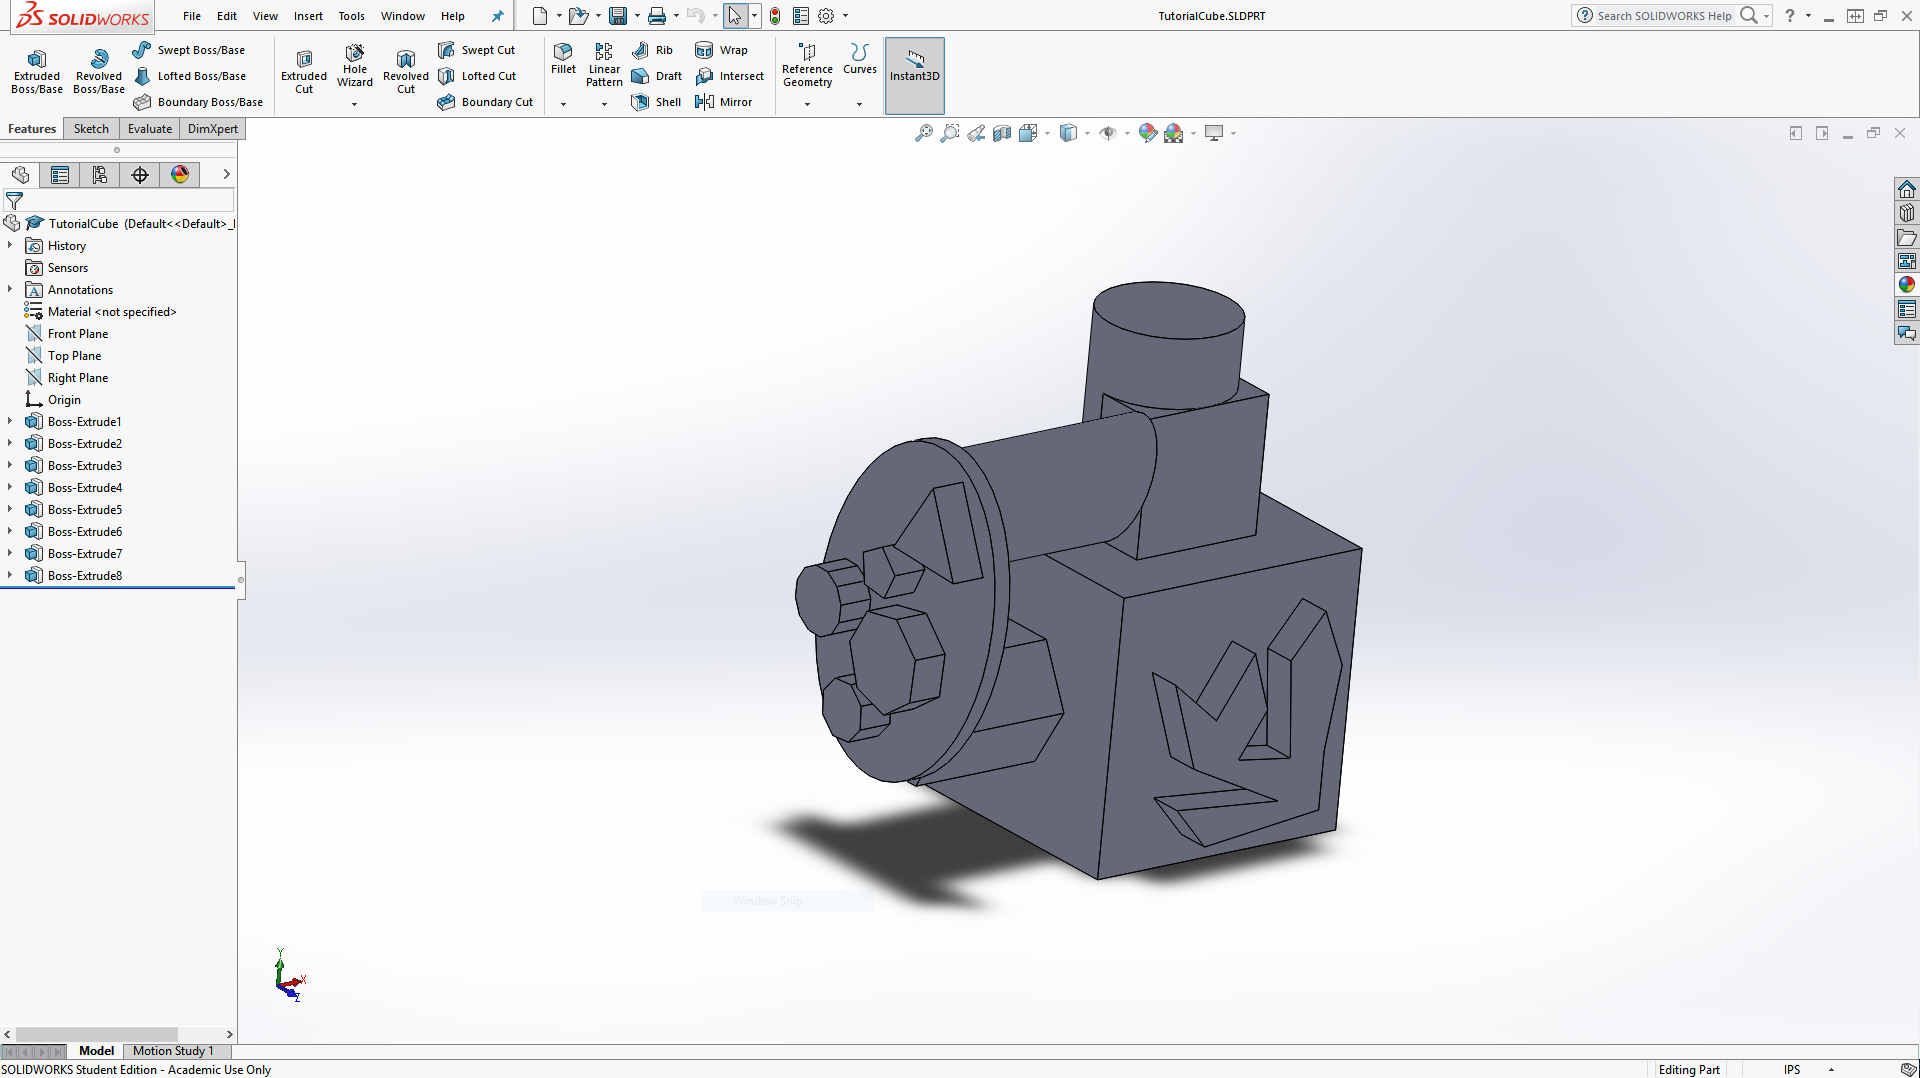
This is just an example. Feel free to make yours look however you like!
Posted 11:08am 7/11/17