
Making a Table
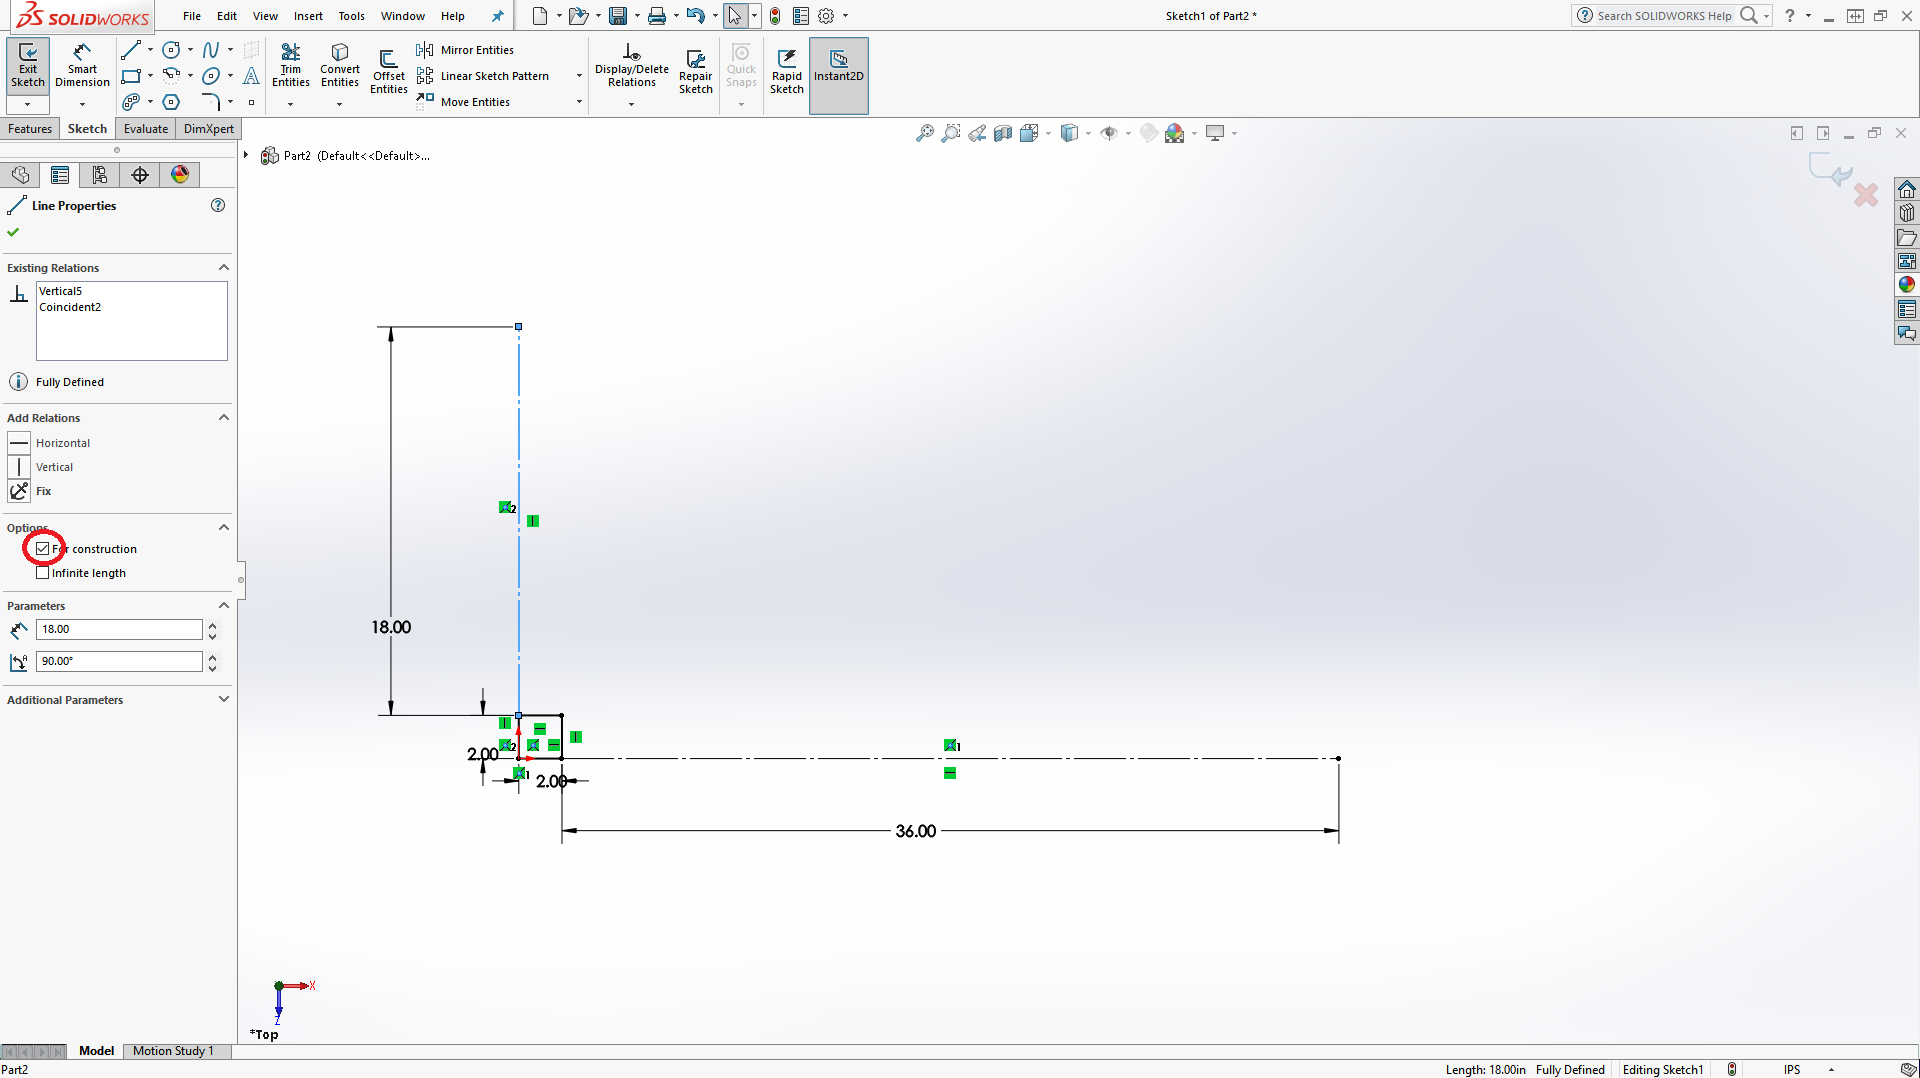
Next we'll start by making a wooden table. To start, create a new part as discussed in the last page. We then need 4 legs spaced apart. We'll do that by first creating a 2x2 square, then lines coming off it for 36 inches horizontally and 18 vertically. Because we don't want these lines to extrude, we'll set them to "For Construction" by clicking on them individually and selecting the checkbox on the left. It should look like this.
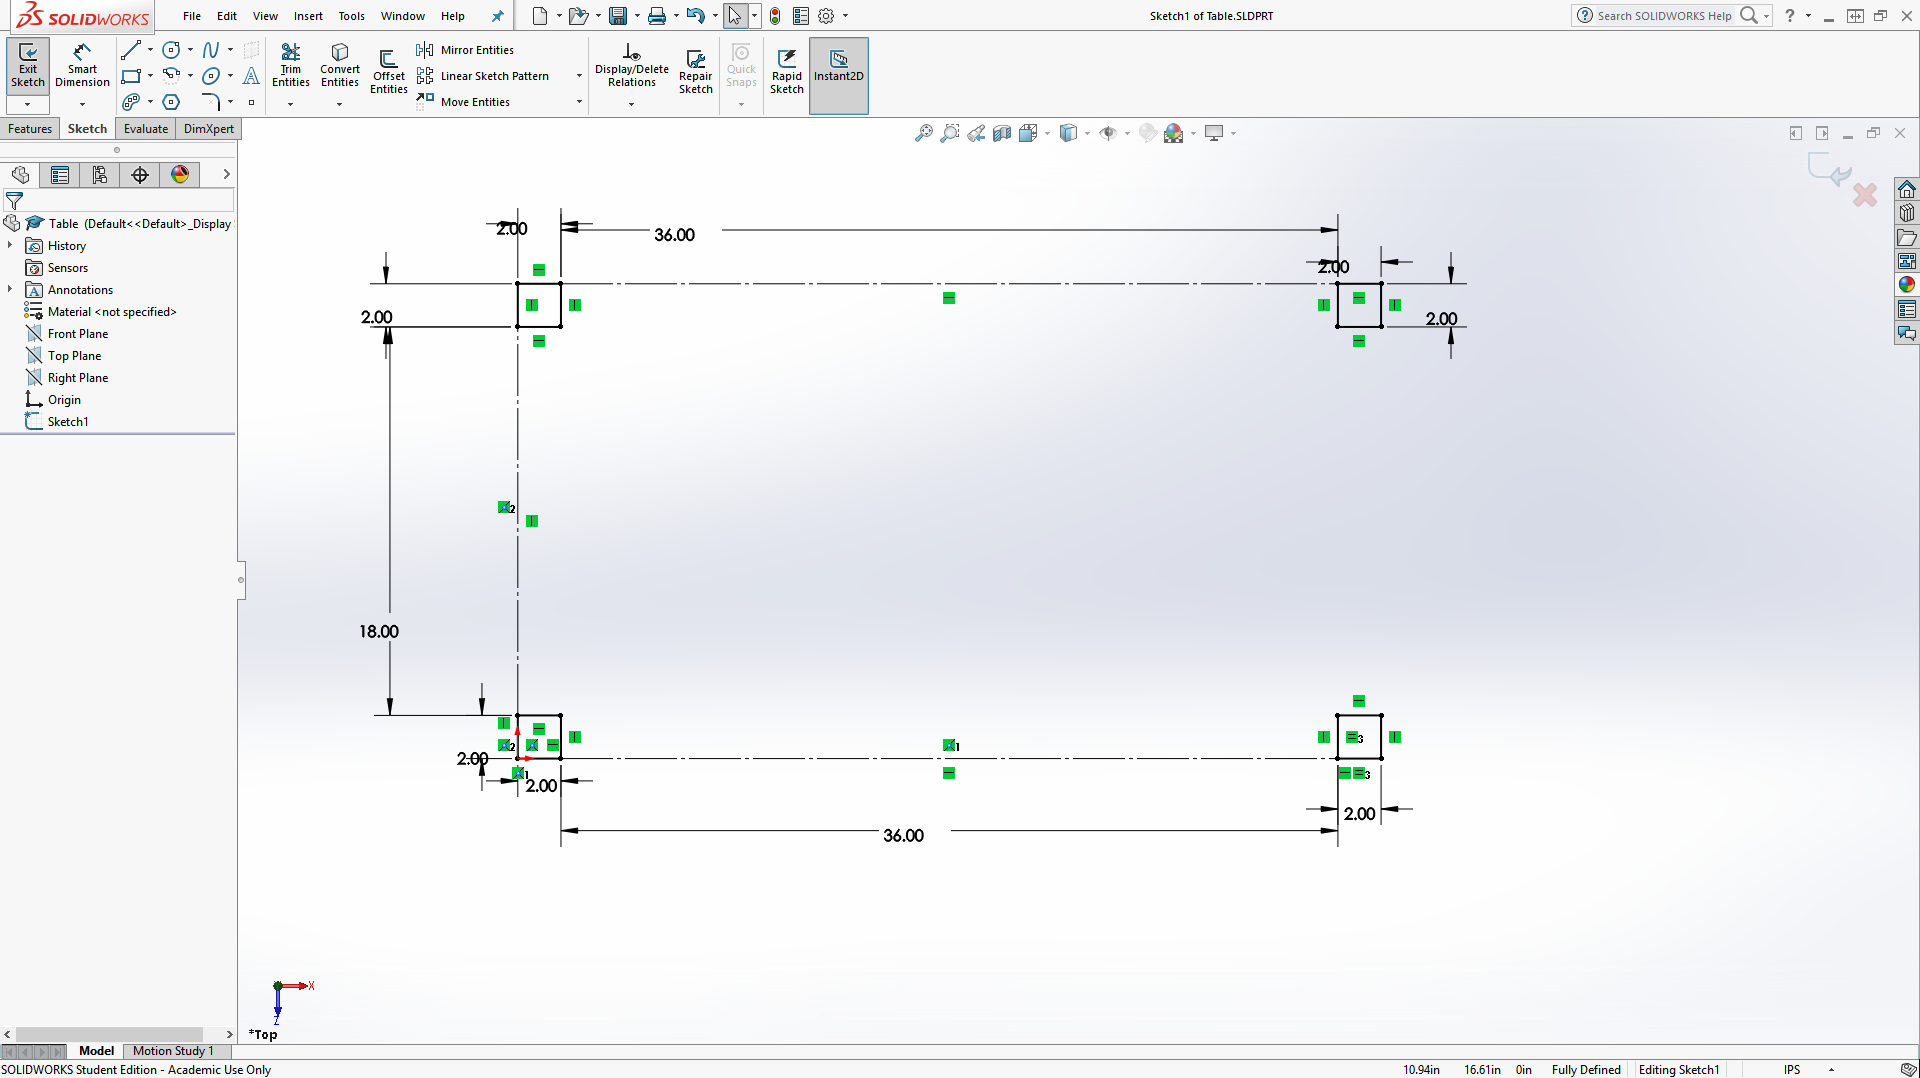
Now, use this to make the 3 other legs, using 2x2 squares lines for distance reference. Note that I also saved this as Table.SLDPRT.
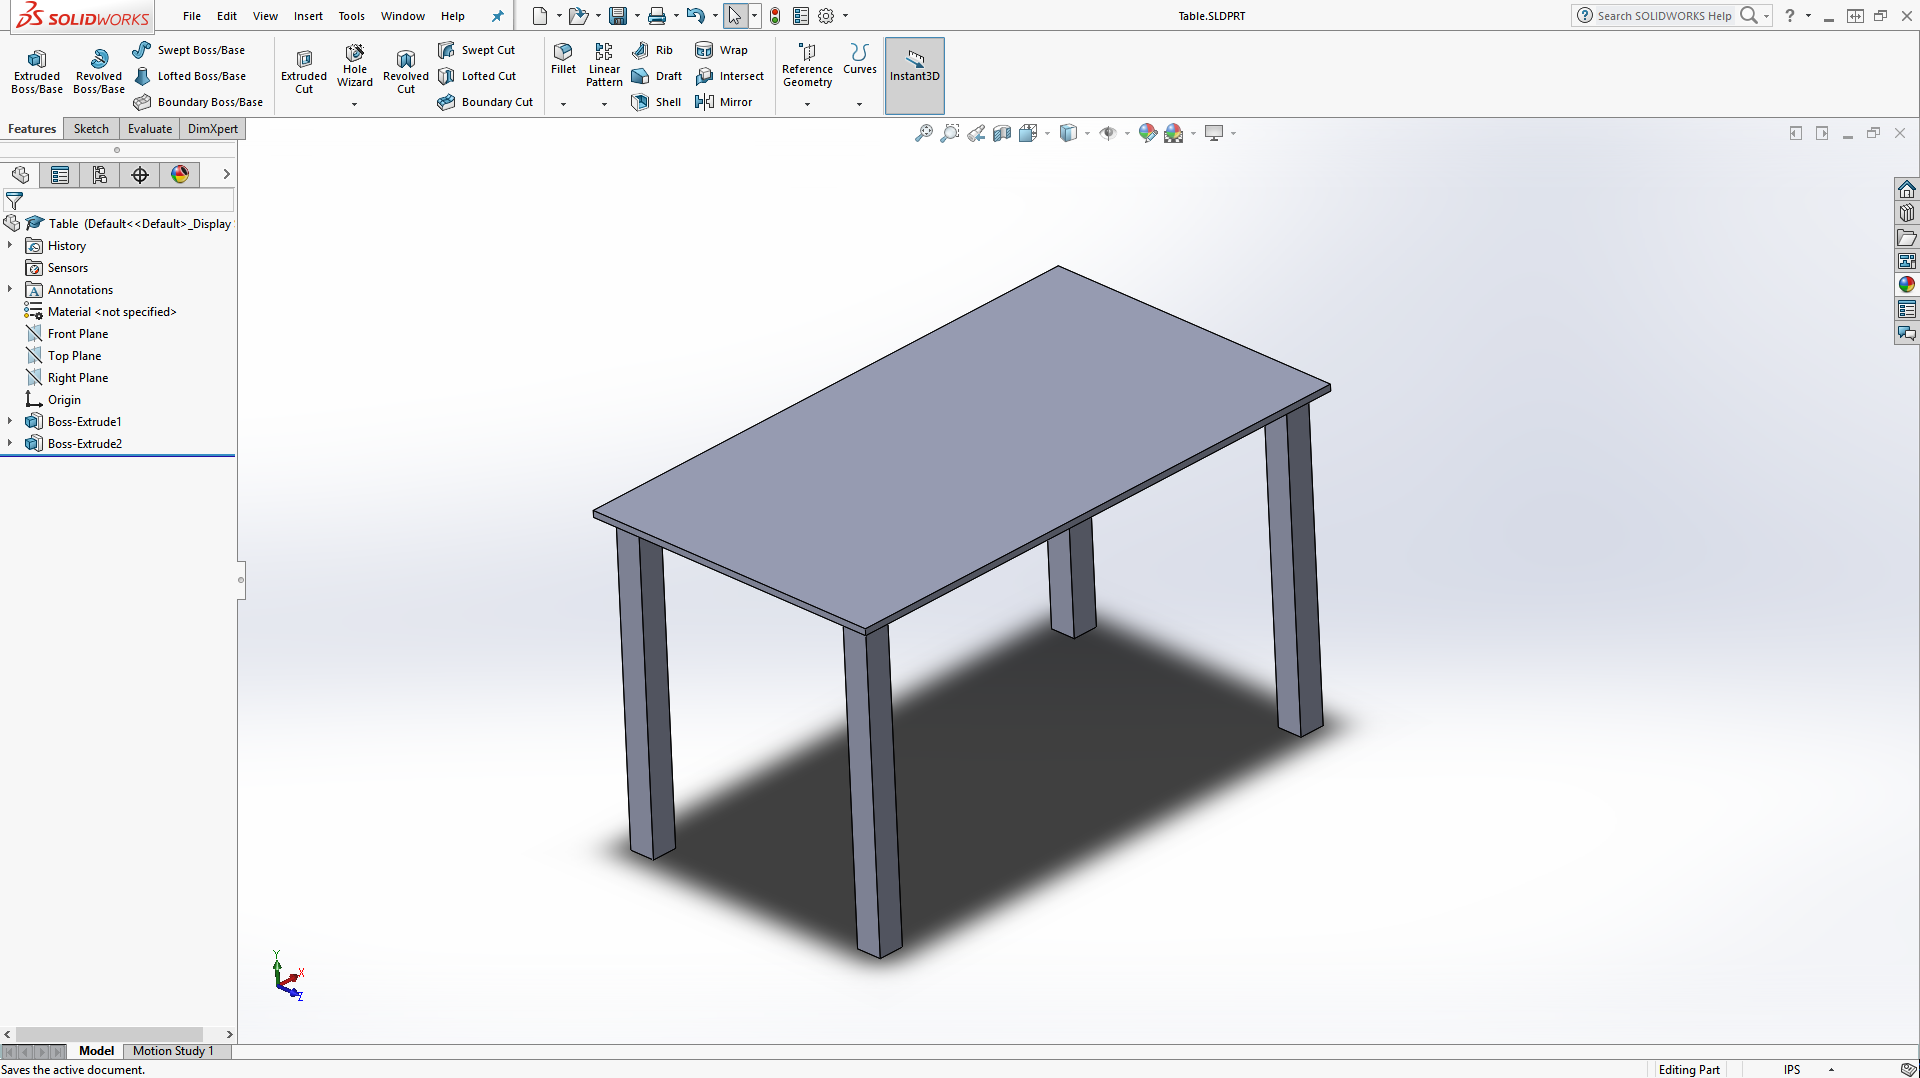
After extruding the legs up 2 feet, we should create a top for the desk. Do this by making a rectangle which extends an inch from each side of the legs and extruding it up an inch.
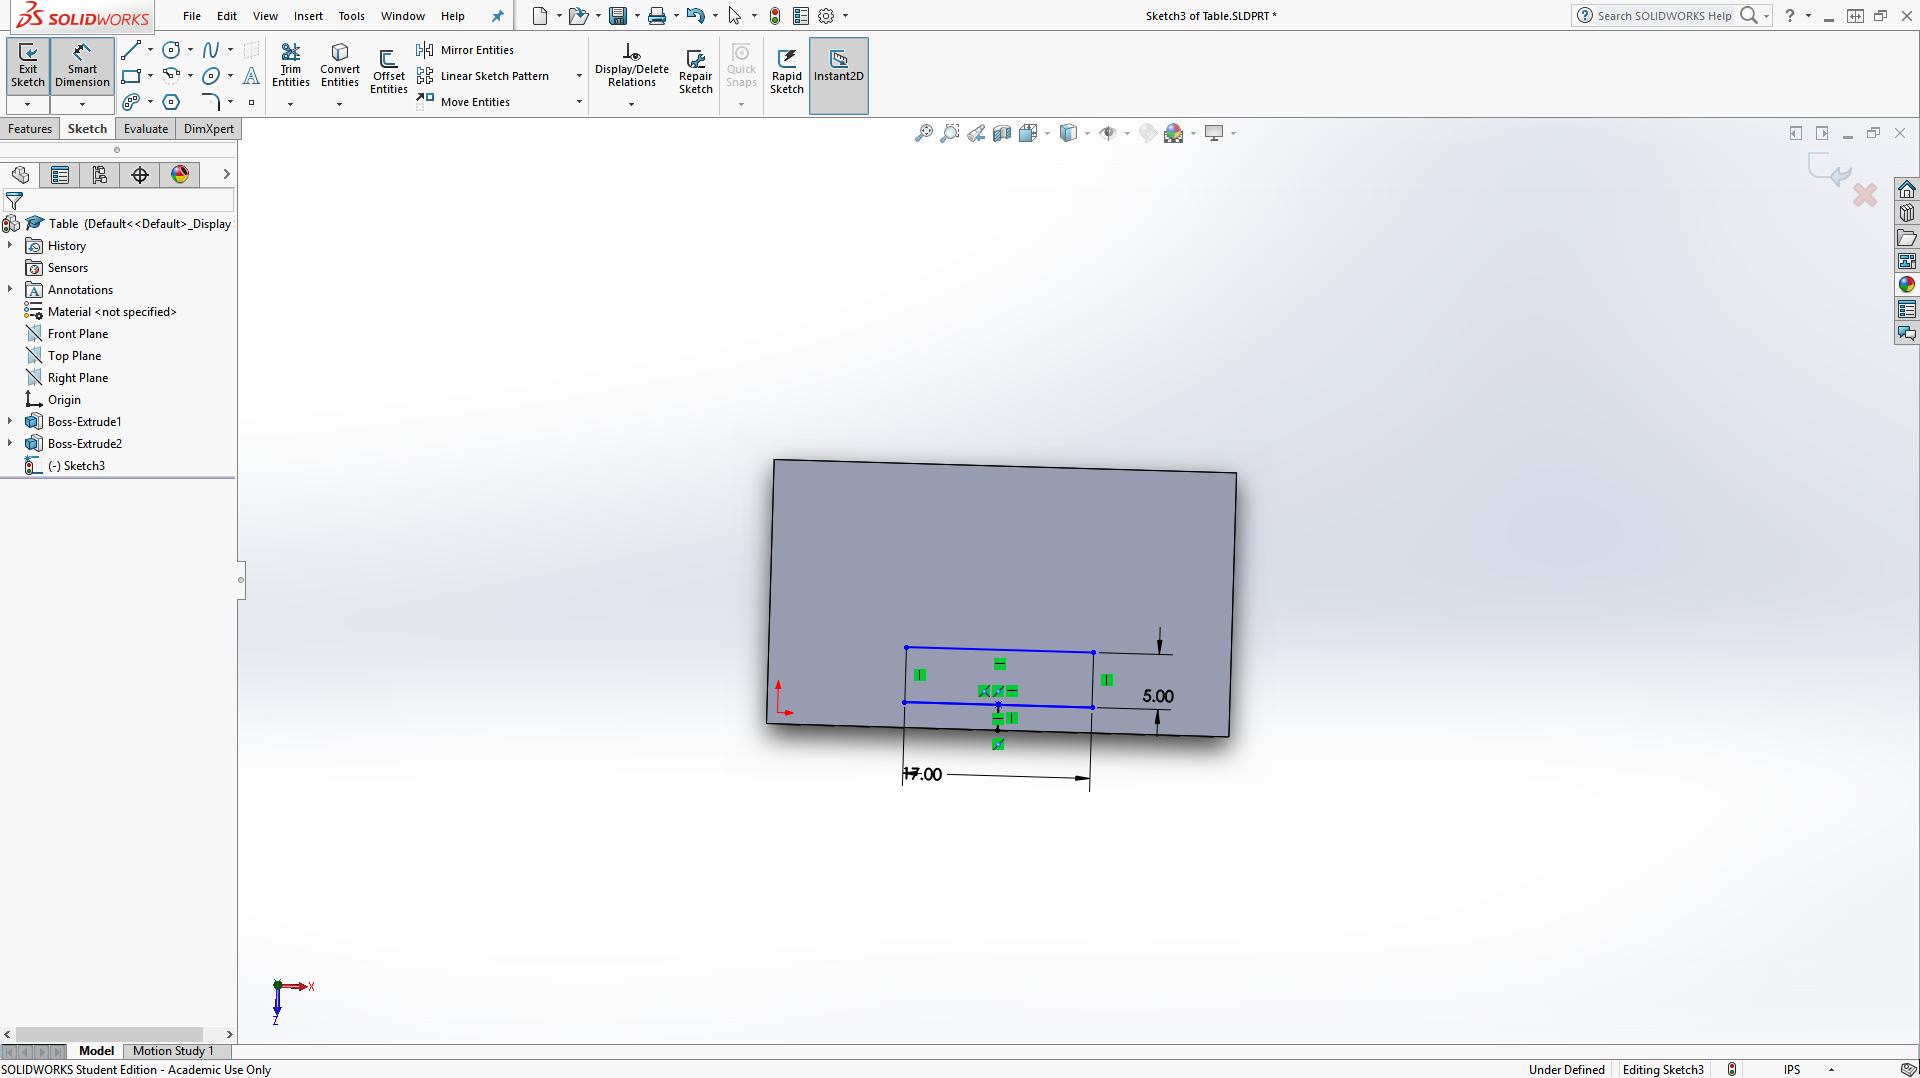
The most difficult part of this is that we want to lay out places for monitors and our keyboard. The keyboard slot will be 5x17 and the monitors will have slots 8x6 inches. As we'll have 3 monitors, we want 3 of those slots, but 2 at angles. We'll start with the keyboard by finding the centerpoint of the bottom line on the top and making a line going up an inch from it. Then, click on the dropdown menu under "Line," select "Midpoint Line" and use it by clicking on the top of the line that you just made. This will allow you to make a line horizontally with the center loacted where you started. Then use Smart Dimension to set that length to 17 inches. Finally, make a rectangle from this line that extends up 5 inches.
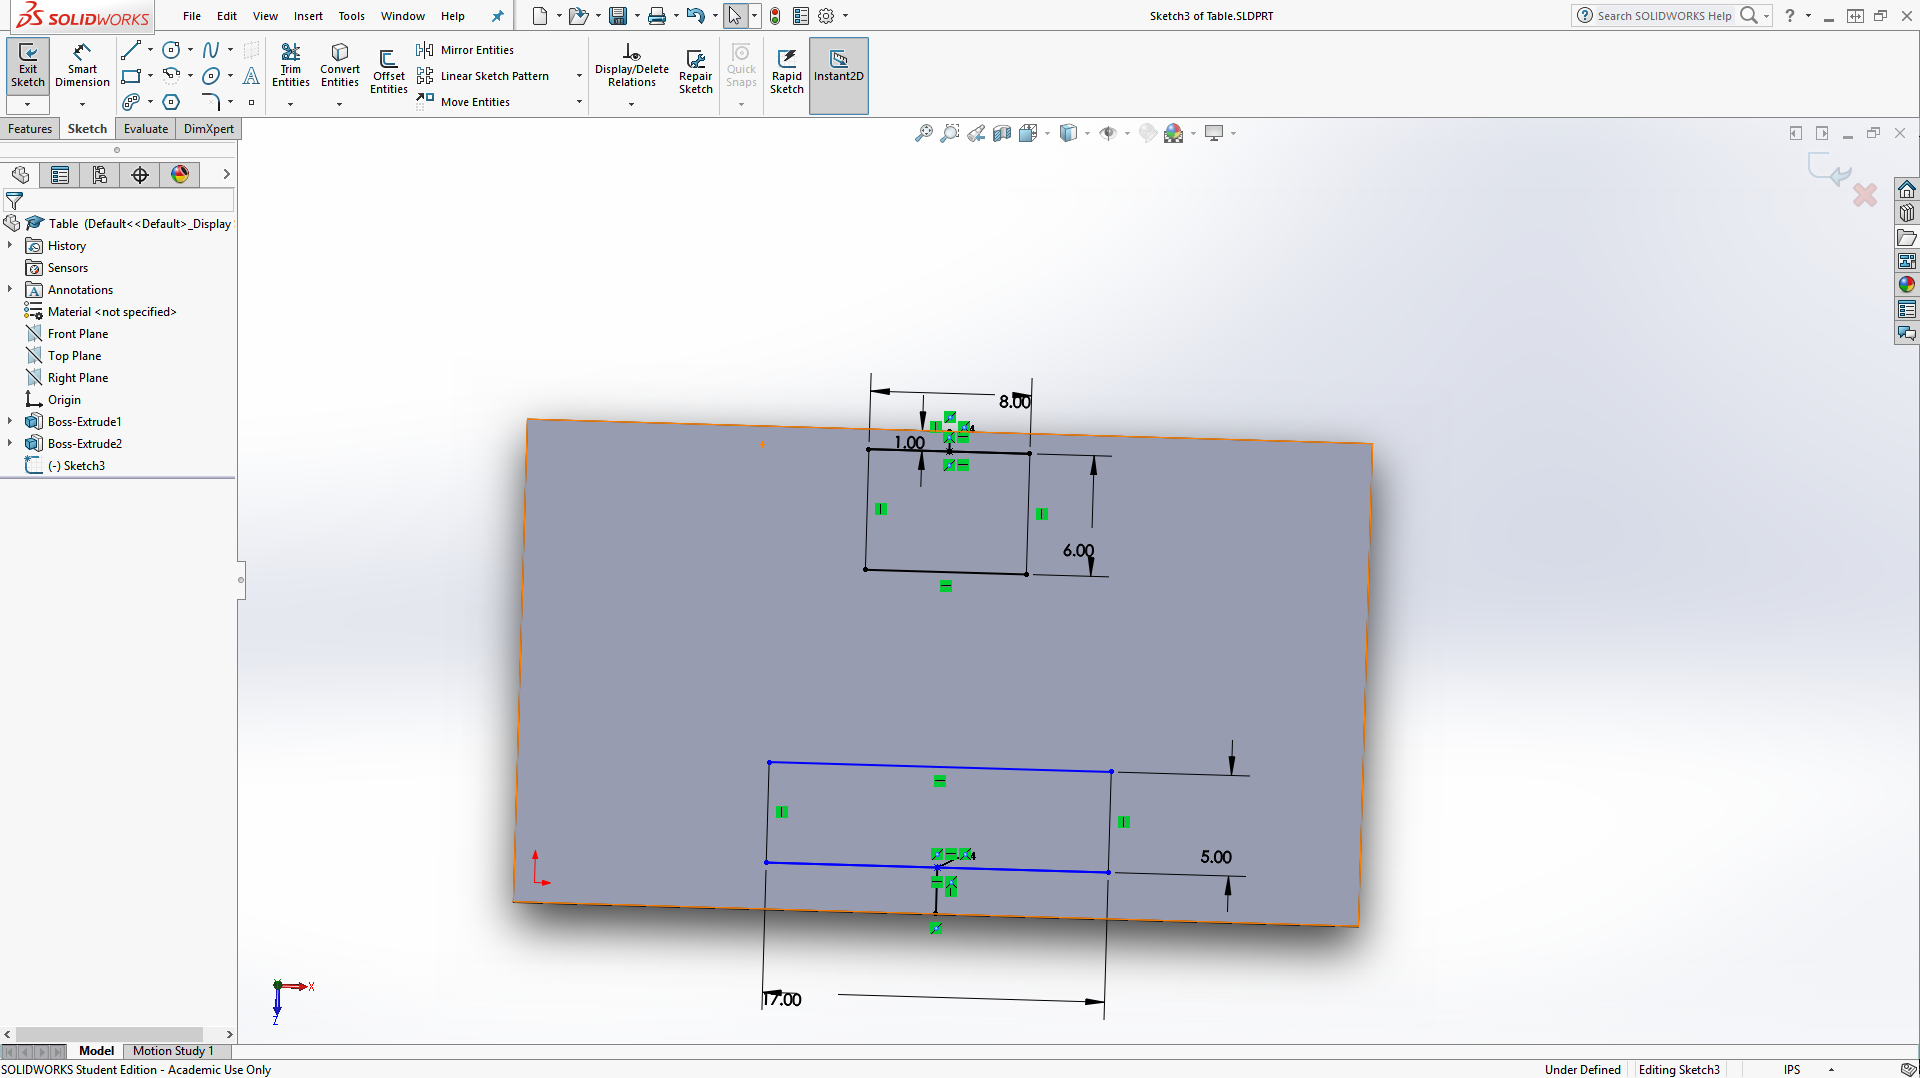
Next, we'll make our first monitor slot. Make it like the last one, 1 inch from the edge and 8 inches wide by 6 inches tall.
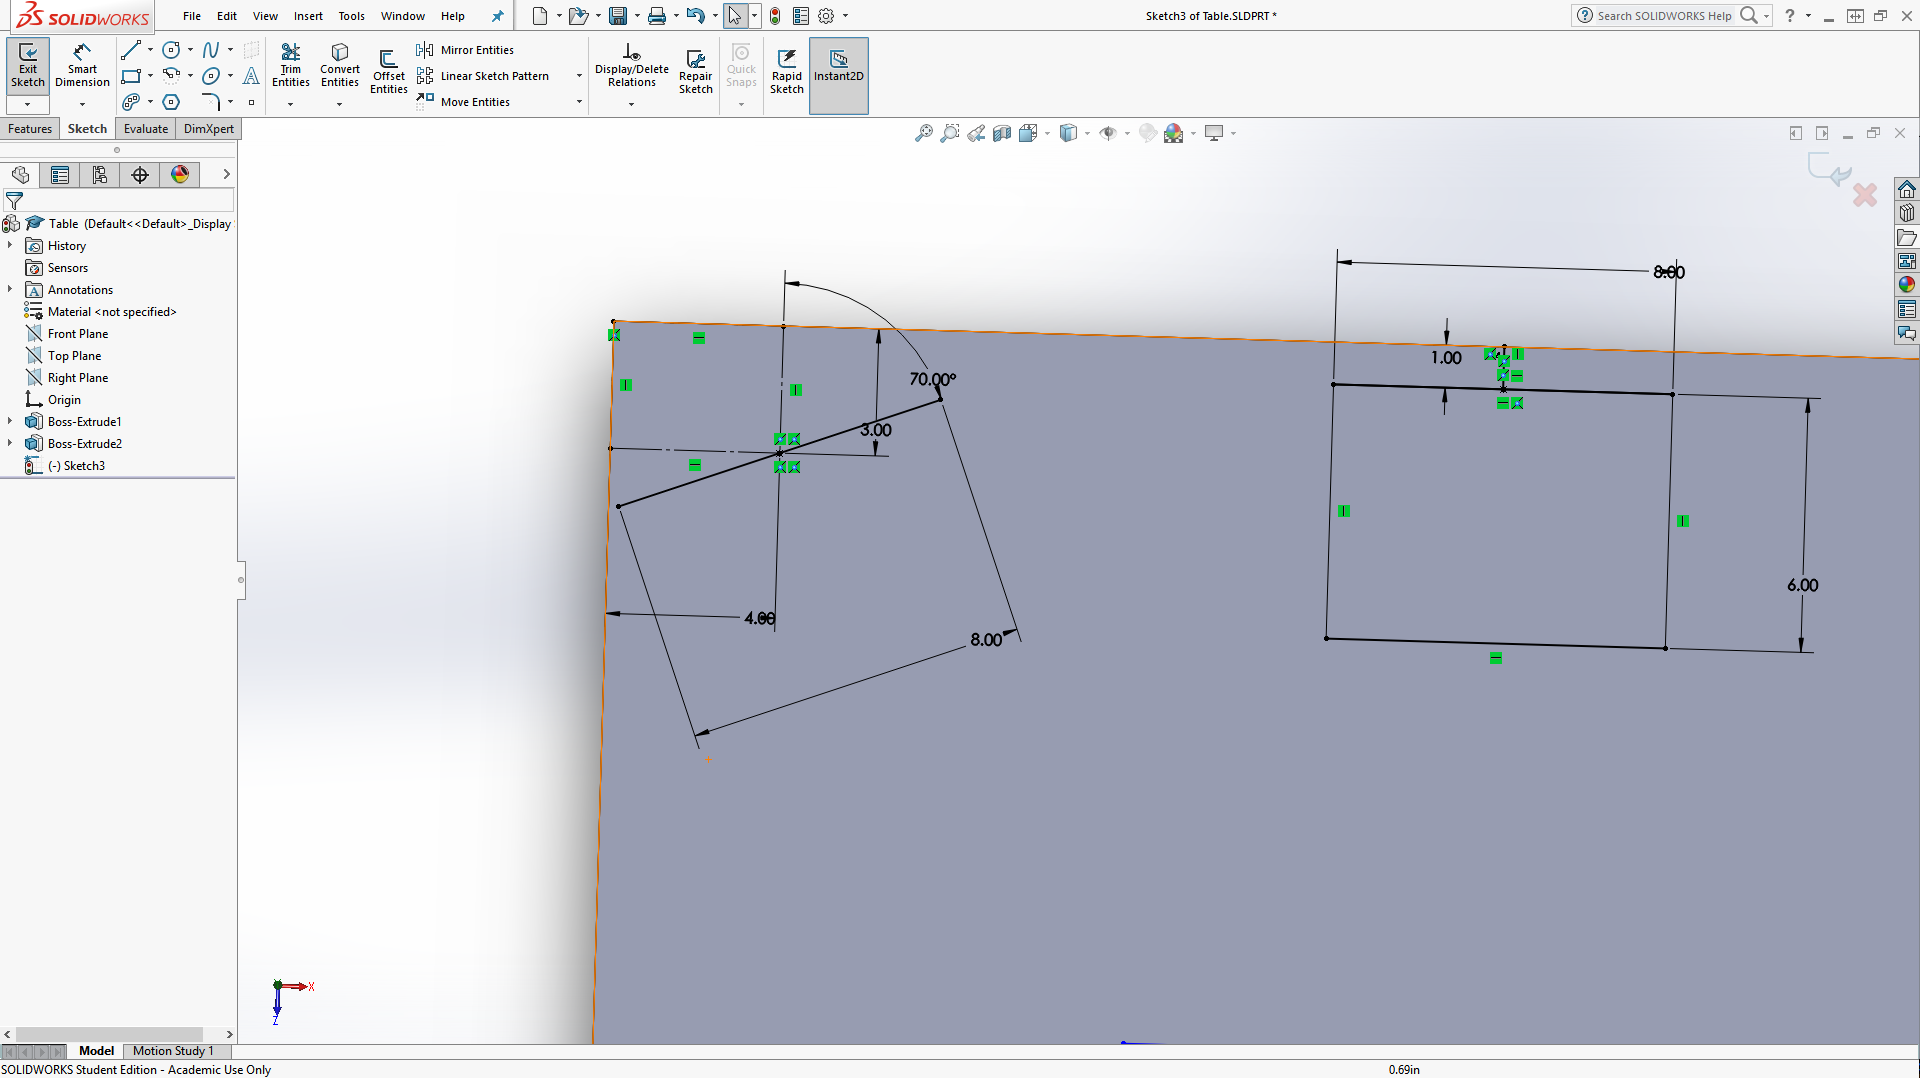
The next monitor slot will be at a 20 degree angle. We'll start by using the rectangle tool, and going 4 inches over and 3 inches down from the top left. Then, select those lines and make them For Construction so that they aren't extruded. Then, make a midpoint line that is not at a perfect vertical or horizontal angle. Then, use the Smart Dimension tool to set the angle to 70 degrees as shown and make the line 8 inches long.
Next, we need to make a 9-inch line going down on the left side. Make certain that it is not vertical or horizontal again, then set the angle to 90 degrees from our previous line and the length to 6 inches. After this, use the "3 Point Corner Rectangle" tool and select the ends of the lines just made to create the rectangle.
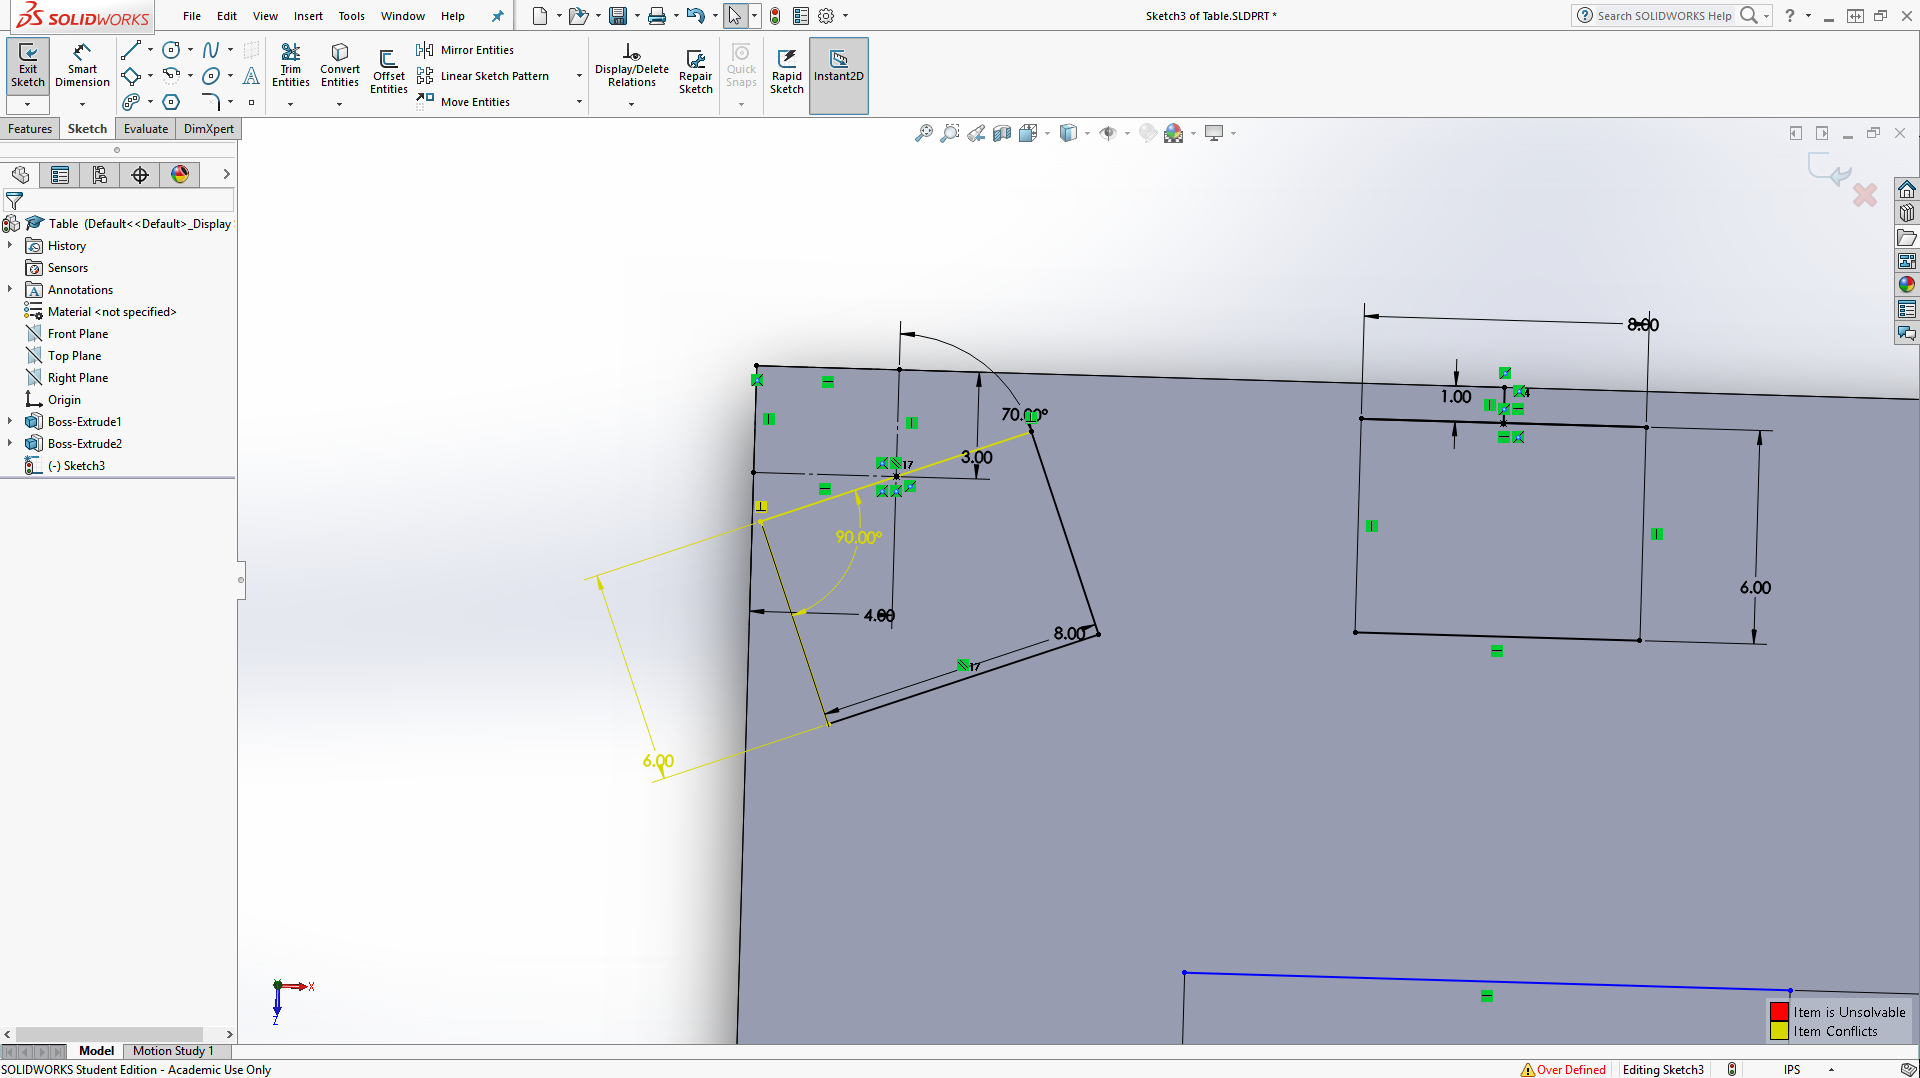
Your screen may, or probably should, show some scary-looking yellow and red errors. To resolve these, simply delete your 90 degree angle measurement. All else will stay perfectly fine.
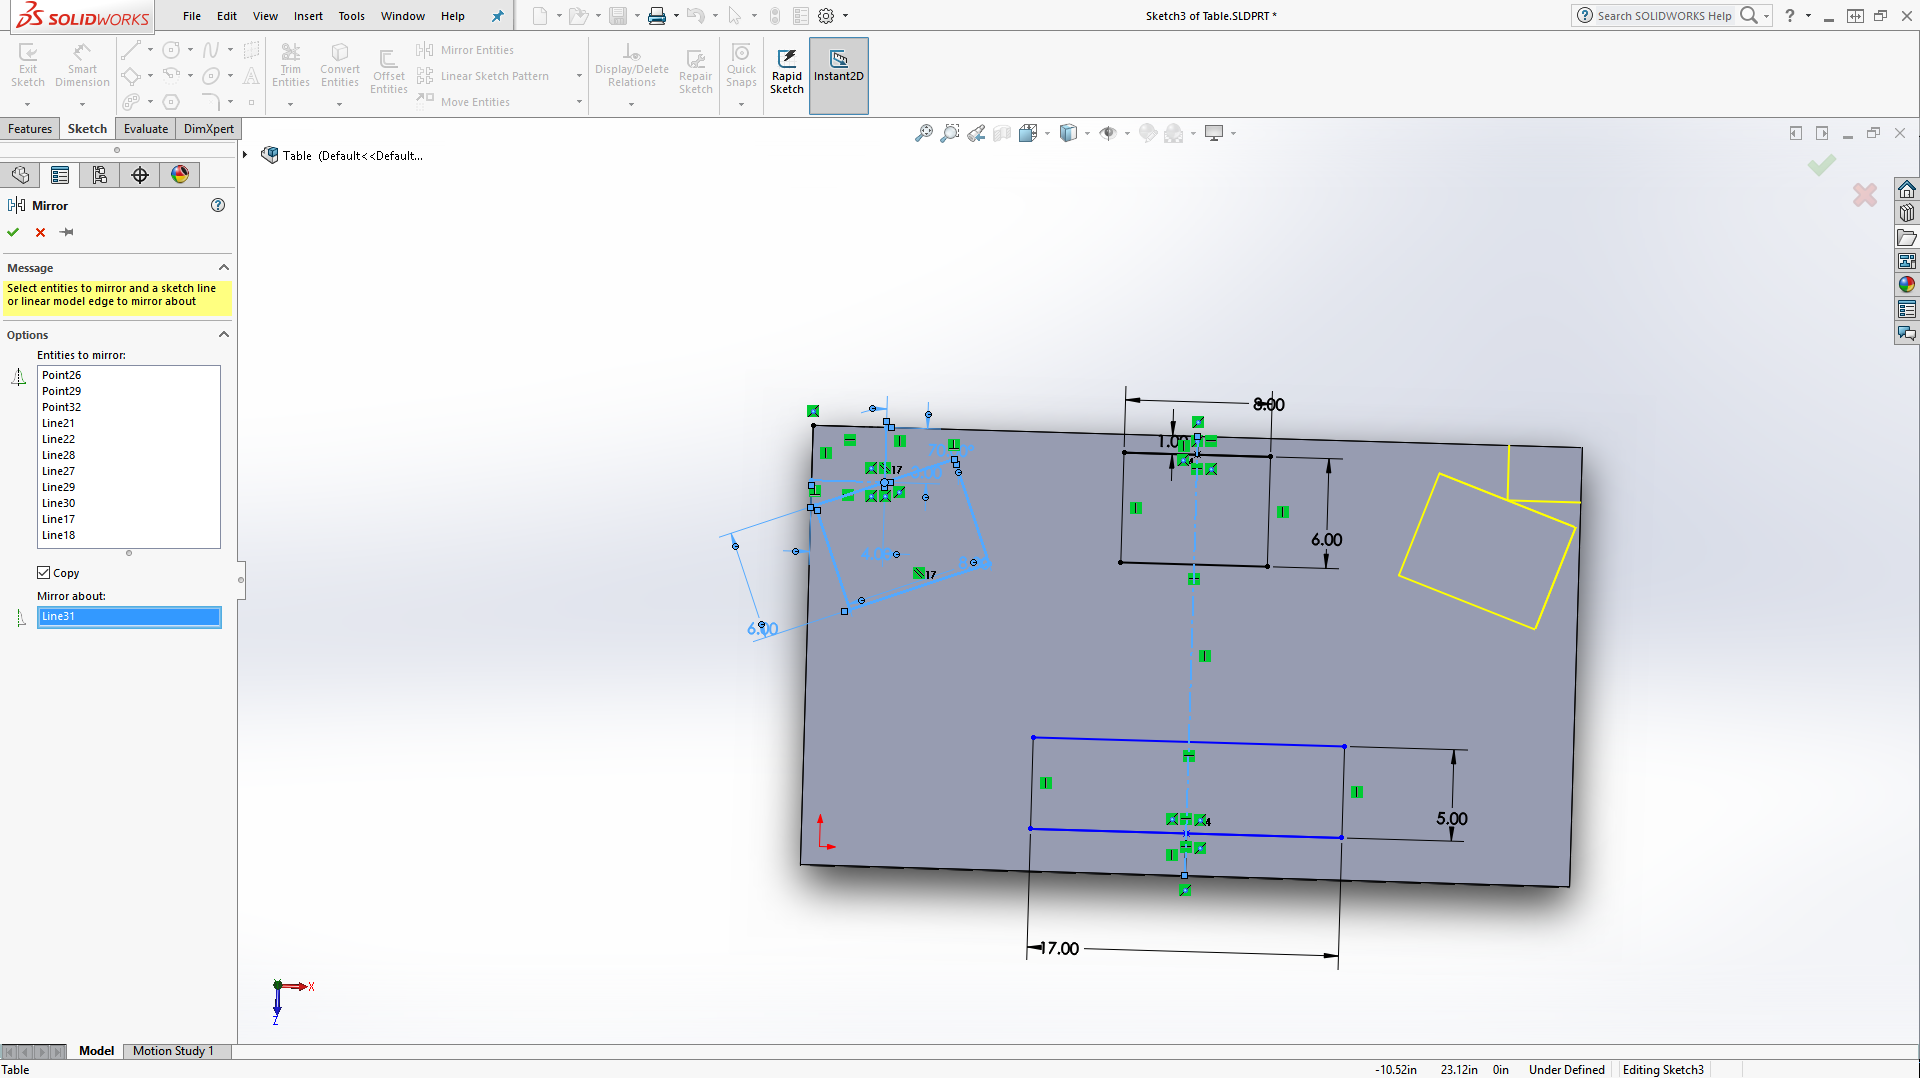
Of course, that seems like a lot of work to repeat on the other side. Thankfully, there's an easier way. We'll use the "Mirror" tool on the toolbar to copy the rectangle to the other side. First, though, we need a line to mirror across. Simply make a For Construction line between the midpooints of the top and bottom of our tabletop. To select what to copy, click and hold the mouse below and to the left of our tilted rectangle, and then drag it above and to the left. This will select our rectangle, as well as some accompanying features. We'll then hit "Mirror Entities," make sure "Copy" is selected, and then select the "Mirror About" box. This now allows you to select a line to reflect over. Select the center line, hit the green check, and you should have your nice new rectangle!
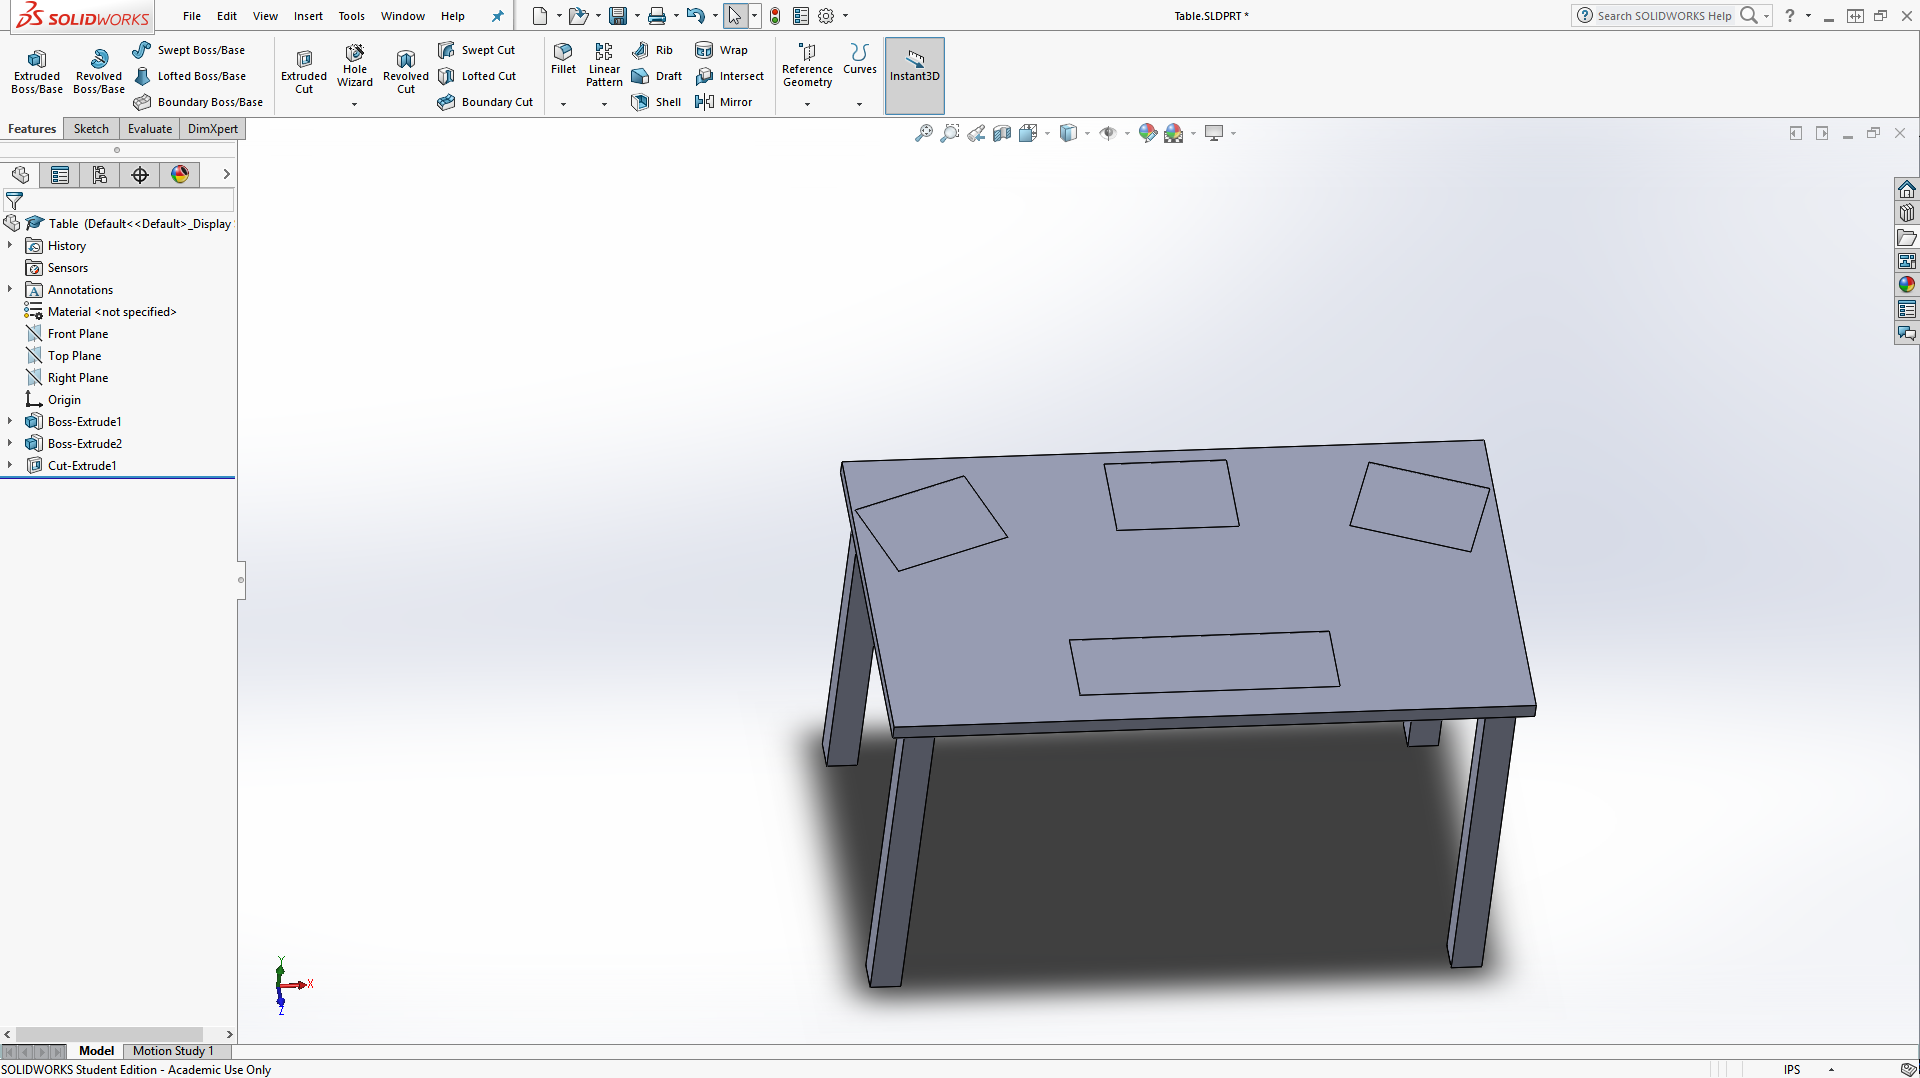
Our table's almost done! All we need to do is turn these 2D shapes into some small cutouts for the monitors and keyboard to eventually go in and give the whole thing a nice finish. To do the former, we'll go under "Features" and, instead of selecting Extruded Boss/Base, select Extruded Cut. This will allow us to make holes in the surface of the table. We don't want big holes, though, so make sure all the rectangles are selected as yellow by clicking on them and change the depth (D1) to 1/32. Then just hit the green check and the holes should be carved, although they're so small they generally just appear as rectangles.
To make your object anything but a dull gray, we need to change its Appearance. Do this by clicking the colorful ball on the right. This will pull up a menu from which we can select how we want our object to look. Navigate the dropdown menu to get to Appearances > Natural > Wood and select a wood of your choice from the many kinds in their subfolders. When you select an appearance, a small box will pop up. To confirm your choice, click the button which looks like an upside-down "T" or cancel it by moving your cursor off the box.
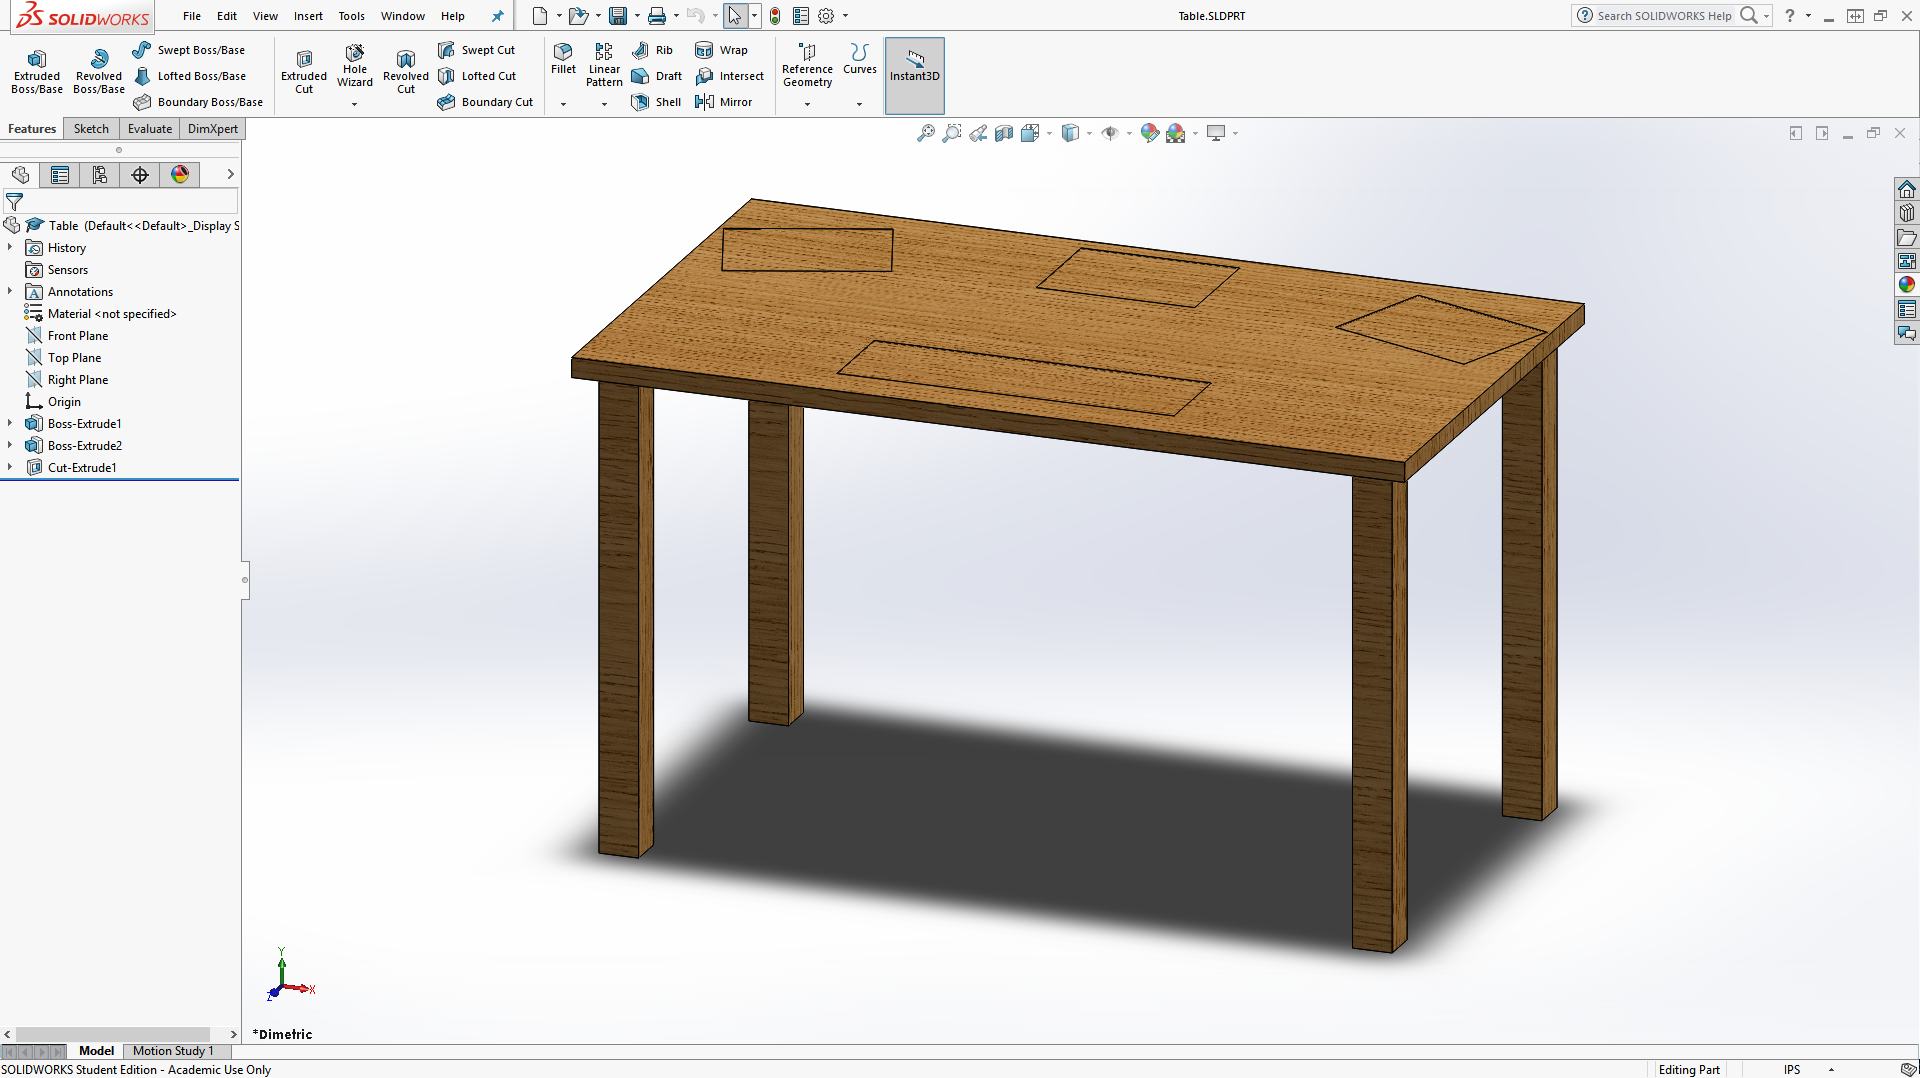
Congratulations! Your table is complete! From here, we'll be adding the peripherals, starting with the keyboard, in the next posts. Make sure to save your table before exiting!
Posted 2:49pm 7/11/17